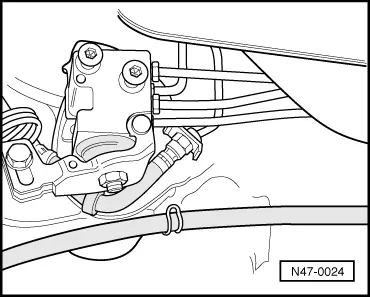
| The braking force regulator is situated upon a support soldered to the bodywork, right hand side, and is controlled from the rear axle through a spring. |
| Floor accelerator pedal quickly and then release (the vehicle sould be stopped on its four wheels). During this procedure the braking force regulator lever should be moved. |
| Checking pressure and adjustment |

Note! | The braking force regulator is adjusted with the vehicle at curb weight → Note. |
| –
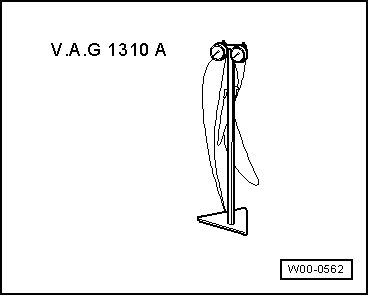
| Raise vehicle and connect the pressure gauge brake bracket (front left wheel) and to the wheel brake cylinder (rear right wheel). |
| 1)
| Curb weight is understood as: The weight of the vehicle ready for use (full petrol tank, spare wheel, tools, jack) |
| –
| Lower vehicle and bounce it several times at the rear axle. |
| –
| Apply pressure to brake pedal and measure pressures. |
| –
| Compare measured pressure values with adjustment values → Chapter, if necessary adjust |
| Checking pressure too high in rear axle: |
| –
| Release regulation spring. |
| Checking pressure too low in rear axle: |
| –
| Tension regulation spring. |
Note! | Do not adjust with brake pedal depressed, for which the following order should be observed: |
| –
| Read values and if necessary correct adjustment. |
| –
| Disconnect the pressure gauge and bleed brake sytem → Chapter |
|
|
|