| –
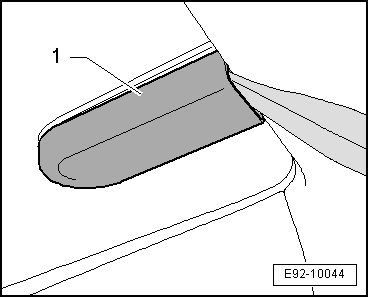
| Remove the spring -1-from the fastening of the rain and light detection sensor -G397-through the -arrow- . |
| –
| Disconnect the connector-1-and remove the rain and light detection sensor -G397--2- from the fastening. |

Caution | t
| Before fitting, thoroughly clean the windscreen surface, in the rain and light detection sensor -G397- attachment area. |
| t
| The surface (cushion union) of the rain and light detection sensor -G397- must be clean during assembly. |
|
| –
| Thoroughly clean the windscreen around the area where the plate is to be attached using isopropanol (technical alcohol). |
| –
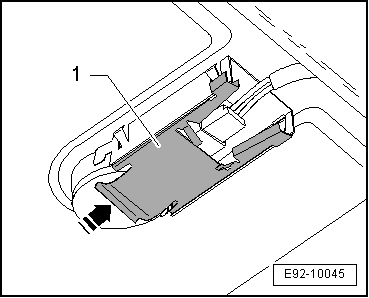
| Fit the electric connector. |

Note | If the surface (cushion union) of the rain and light detection sensor -G397- is dirty, it can be cleaned by „sticking“ and then „removing“ strips of adhesive tape. |
| –
| Fit the rain and light detection sensor -G397- without allowing bubbles to arise. |
Note | After fitting the rain and light detection sensor -G397- there should not be any air bubbles between the windscreen and the surface(cushion union). |
|
|

|