| t
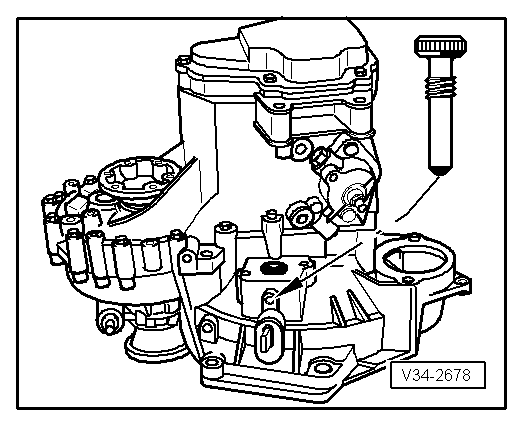
| Before installing transmission, press clutch release lever in direction of transmission housing and fasten with assembly bolt or M8 x 35 bolt. After installing transmission, remove bolt. |
| t
| If the gearbox is replaced, the following must be reused in the new gearbox: sender for the speedometer, selection rod and the relay shaft. |
| t
| When fitting the pendulum support position the bolts in the support holes so that there is a maximum distance between the gearbox and the subframe. |
| t
| When the battery is reconnected, coding must be carried out according to the fitted equipment; enter the radio code, adjust the clock. |
| The remainder of the installation is carried out in the reverse order of removal while noting the following: |
| –
| Carefully raise gearbox together with counterhold -T20138B-, the base -T20145- and the hydraulic jack -SAT 1040- and place it in installation position. |
| –
| Screw the gearbox to the engine. |
| –
| Separate the assembly support tool -T20138B-, base -T20145- and hydraulic jack -SAT 1040- from the gearbox. |
| –
| If necessary, bleed clutch assembly → Chapter. |
| –
| Adjust the gear selection mechanism → Chapter. |
|
|
|
 Note
Note