
Leon Mk2
 Note
Note
Note
|
|
|
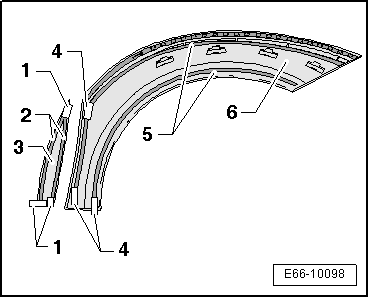
| – | Precisely attach the trim -3- along the front door section. |

| – | Apply pressure in the area of the trim adhesive tape by using the installation tool -T20098-. |
| – | Also press the adhesive area by pressing a cloth over the trim. |
| – | Clean the area. |