
Leon Mk2
|
|
|
|
|
|
|
|
|
|
|
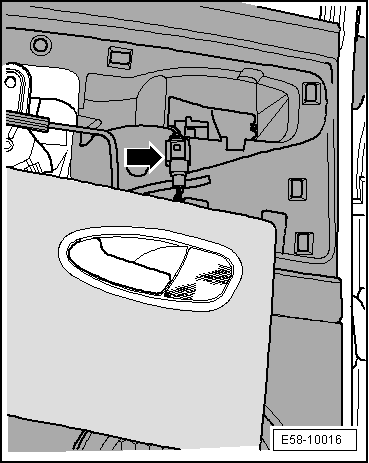
| – | Remove the multi-contact connector -1- located below the rubber bellows on the B-pillar. |

| – | Separate the bolt -2-. |
| – | Unscrew bolts -3- of the guide -4-. |
| – | Disconnect the connector -8- of the lock -6-. |
|
|