
Leon Mk2
| Lower B-pillar trim: Removing and installing |
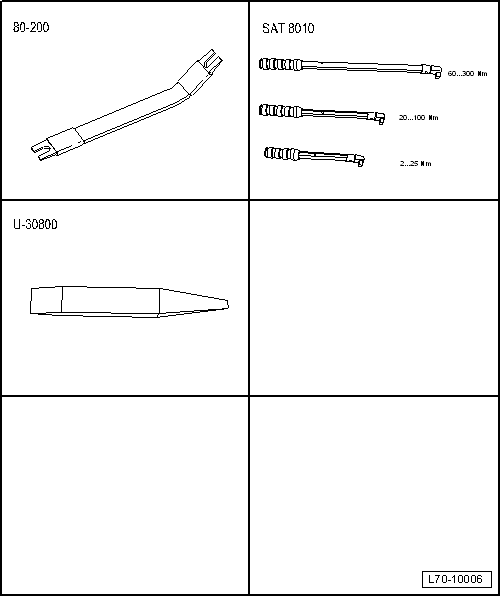
| Special tools and workshop equipment required |
| t | Lever -80 200- |
| t | Torque wrench kit -SAT 8010- |
| t | Lever -U30800- |
|
|
 Note
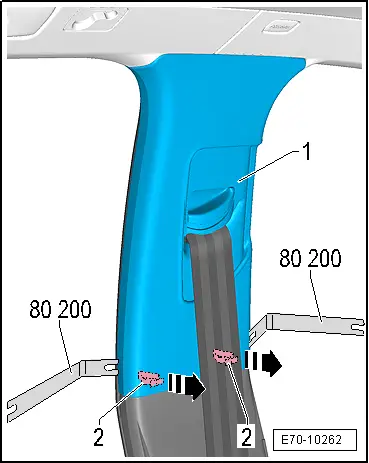
Note| Removal of lower B-pillar trim does not involve taking out outer seat belt anchorage point. |
| – | Unclip lower A-pillar trim at the rear end → Chapter. |
| – | Loosen clips -2- at rear end of B-pillar trim -1-. |
| – | Pull the lower B-pillar lining -1- upwards, until the B-pillar lining is unhinged out of the belt guide -5-. |
|
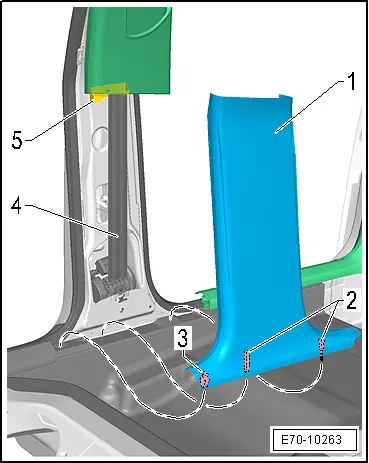
Note| Take care not to trap webbing -4- when fitting trim. |
| – | Insert the centring pin -2- in the bracket in the bodywork opening. |
| – | Engage trim -1- at top at belt guide -5-. |
| – | Secure lower trim -1- at rear with clip -3-. |
| – | Clips the lower A-pillar lining back → Chapter. |
| – | Install upper B-pillar lining → Chapter. |
 WARNING
|