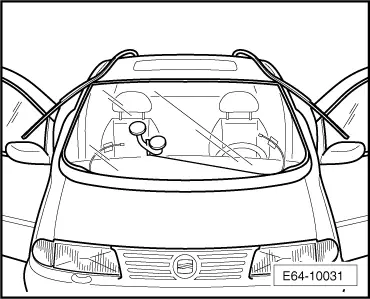
Lower moulded headliner (approx. 40 mm) until windscreen can be cut out without damaging moulded headliner.
Continuation for all vehicles
–
Insert cutting cord around window.
–
Pull end of cutting cord through the adhesive sealant into interior of vehicle with awl -V.A.G 1474/2- from removal kit for flush-bonded windows -V.A.G 1474B-. Cutting cord is laid double up to window wiper shaft.
–
Secure outer end of cord on windscreen wiper shaft.
–
Secure inner end of cord on reel device.
–
Place reel device -V.A.G 1654- on windscreen.
–
Move reel device according to position required and cut window free.
–
Use plastic wedge to press cutting cord against window glass while cutting in order to have clearance at window flange and dash panel.
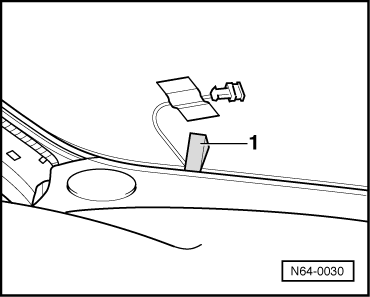
Vehicles with heated windscreen
–
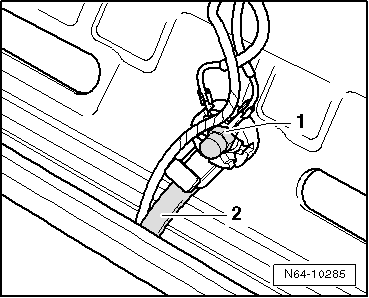
Make sure the two connections for the windscreen heating unit (left and right) are not severed.
–
Use a plastic wedge between the connectors and dash panel.
 Note
Note