
Leon Mk2
| Rear door lining fitted with manual / electrical window risers, model ST: Removing and installing. |

| Special tools and workshop equipment required |
| t | Torque wrench kit -SAT 8010- |
| t | Release lever -T20043- |
| t | Release lever -U 30800- |
 Note
Note
|
|
|
| Is the same for manual and electrical window risers |
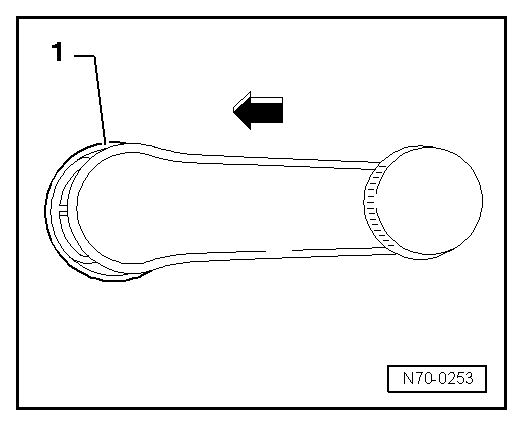
| – | Release cover on door handle -11- with lever -U 30800-. |

| – | Remove the bolts -9- and -10 and 12-. |
| – | Use the lever -T20043- to detach the window unit -13-. |
| – | Remove the multi-pin connector -7- located on the B-pillar. |
| – | Insert the multi-pin connector -7- together with the rubber bellows inside the door frame. |
| – | Remove the window in the rear door → Bodywork exterior fitting work; Rep. gr.64. |
| – | Unscrew the bolt -4-. |
| – | Remove the securing bolt -5- for the window guide. |
| – | Slacken the bolt -8-, but do not remove entirely from the window guide. |
| – | Separate trim -3- from door frame. For this purpose, first press upwards to reveal the plate of the door frame -see detailed view- and to loosen the bottom side of the window guide from the door frame. |
| – | Lower the lining -3- until releasing the upper part of the window raiser guide from the door frame. |
| – | Detach trim -3-. |
| – | Disconnect the lock connection. |
| – | Open the cover -6- turning it in the direction of -arrow A-. |

| – | Detach the retainer hooks -2- turning in the direction of -arrow B-. |
| – | Pull the Bowden cable -3- in the direction of -arrow C- and remove the interlocking from the guide in the door lining. |
| – | Remove the hook -1- from the handle attachment |
| – | Remove the Bowden cable -3- from the attachment to the door lining -4-. |
Note
|
Note
|
|