
Baja F4-2.5L SOHC (2003)
Rocker Arm Assembly: Service and Repair
Valve Rocker Assembly
REMOVAL
1. Remove V-belt.
2. Remove crankshaft pulley.
3. Remove belt cover.
4. Remove timing belt assembly.
5. Remove camshaft sprocket.
6. Disconnect PCV hose and remove rocker cover.
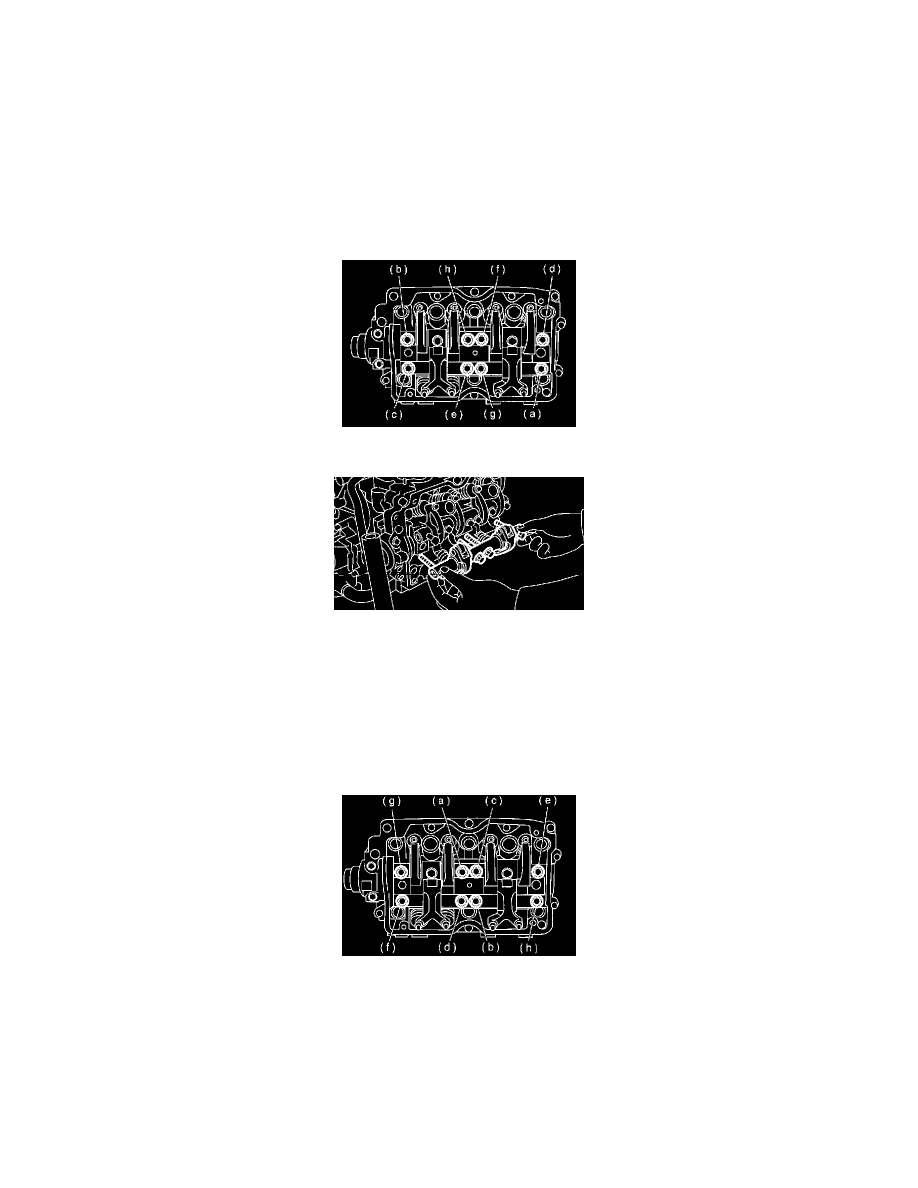
7. Removal of valve rocker assembly
a. Remove bolts (a) through (h) in alphabetical sequence.
NOTE: Leave two or three threads of bolts (g and h) engaged to retain valve rocker assembly.
b. Remove valve rocker assembly.
INSTALLATION
1. Installation of valve rocker assembly
a. Temporarily tighten bolts (a) through (d) equally as shown in figure.
NOTE: Do not allow valve rocker assembly to gouge knock pins.
b. Tighten bolts (e) through (h) to specified torque.
c. Tighten bolts (a) through (d) to specified torque.
Tightening torque: 25 Nm (2.5 kgf-m, 18.1 ft. lbs.)
2. Adjust the valve clearances.
3. Install rocker cover and connect PCV hose.
4. Install camshaft sprocket.
5. Install timing belt assembly.
6. Install belt cover.
7. Install crankshaft pulley.
8. Install V-belt.