
Forester F4-2.5L SOHC (2004)
DISASSEMBLY
1. Remove the bolts which secure rocker shaft.
2. Extract the rocker shaft. Remove the valve rocker arms, springs and shaft supports from rocker shaft.
NOTE: Arrange all removed parts in order so that they can be installed in their original positions.
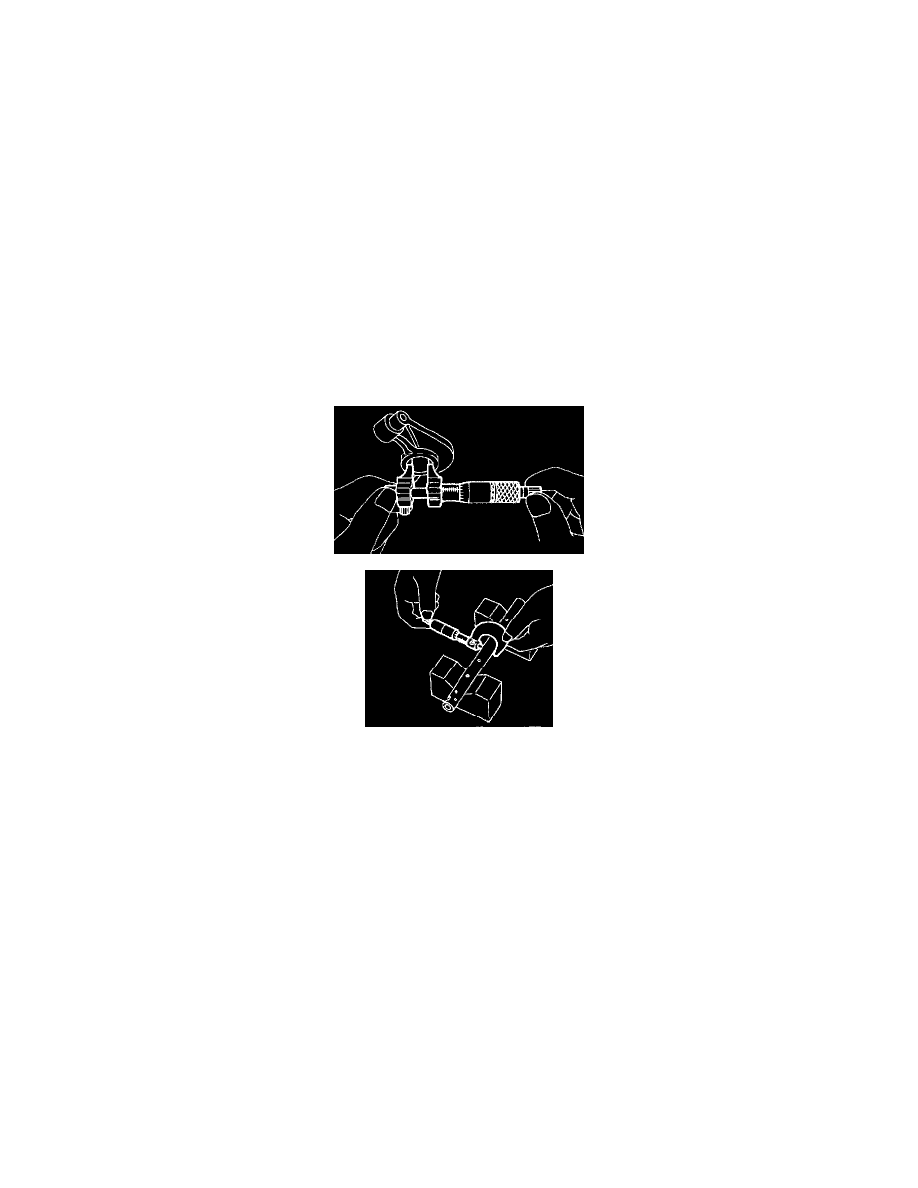
3. Remove the nut and adjuster screw from valve rocker.
ASSEMBLY
1. Install the adjuster screw and nut to valve rocker.
2. Arrange the valve rocker arms, springs and shaft supports in assembly order and insert valve rocker shaft.
Tightening torque (Shaft supports installing bolts): 5 Nm (0.5 kgf-m, 3.6 ft. lbs.)
NOTE: Valve rocker arms, rocker shaft and shaft supports have identification marks. Ensure the parts with same markings are properly
assembled.
3. Install the valve rocker shaft securing bolts.
INSPECTION
VALVE ROCKER ARM
1. Measure the inside diameter of valve rocker arm and outside diameter of valve rocker shaft, and determine the difference between the two (= oil
clearance).
Clearance between arm and shaft:
Standard 0.020 - 0.054 mm (0.0008 - 0.0021 inch)
Limit 0.10 mm (0.0039 inch)
2. If oil clearance exceeds the limit, replace the valve rocker arm or shaft, whichever shows greater amount of wear.
Rocker arm inside diameter: 22.020 - 22.041 mm (0.8669 - 0.8678 inch)
Rocker shaft diameter: 21.987 - 22.000 mm (0.8656 - 0.8661 inch)
3. If cam or valve contact surface of valve rocker arm is worn or dented excessively, replace the valve rocker arm.
4. Check that the valve rocker arm roller rotates smoothly. If not, replace the valve rocker arm.
INTAKE AND EXHAUST VALVE ROCKER SHAFT
Visually check the oil relief valve of shaft end for any of the following abnormalities.
^
Breaks in check ball body
^
Foreign particles caught in valve spring
^
Oil leakage at check ball