
Forester F4-2.5L SOHC (2004)
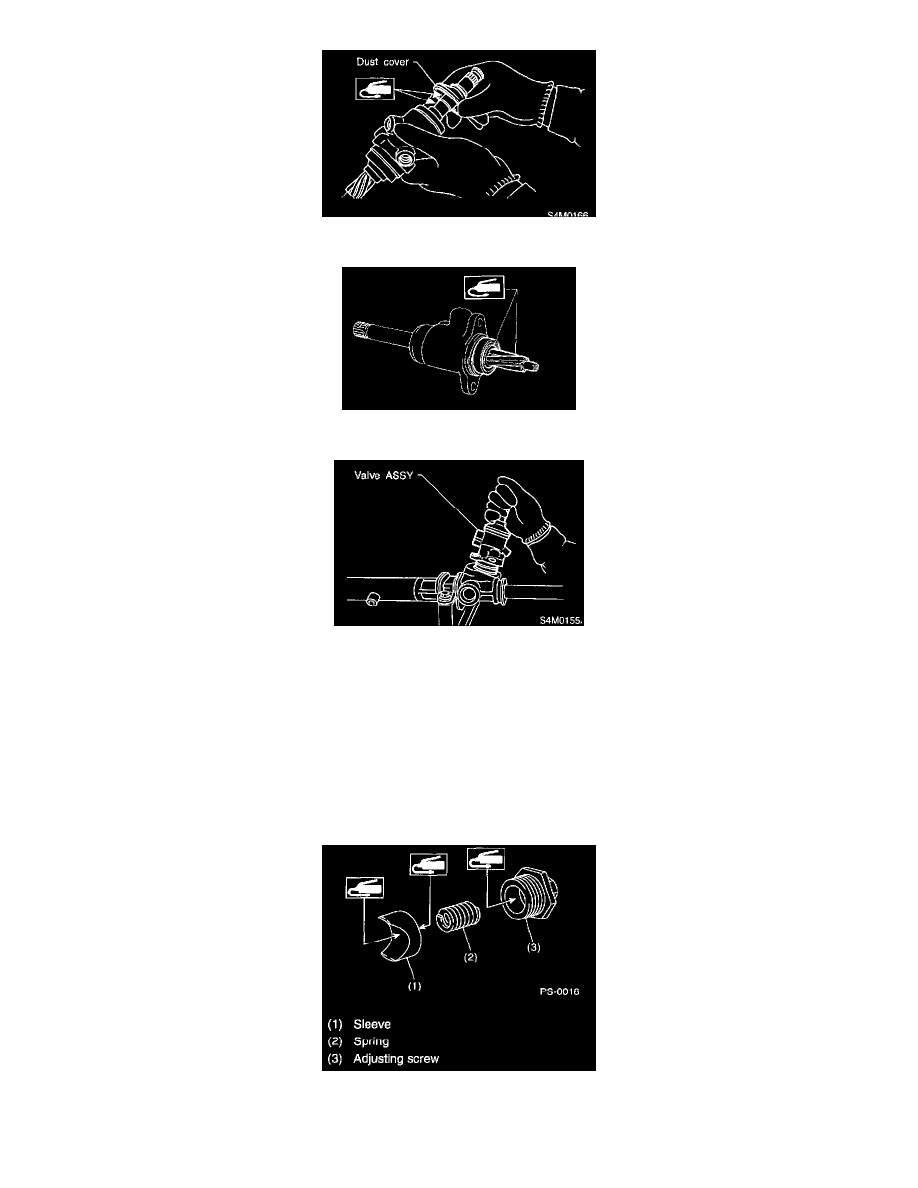
11) Apply genuine grease to dust cover, and then install the dust cover to valve assembly.
12) Apply genuine grease to the pinion gear and bearing of valve assembly.
13) Install a new gasket on valve assembly. Insert the valve assembly into place while facing rack teeth toward pinion.
14) Tighten the bolts alternately to secure valve assembly.
Tightening torque: 25 Nm (2.5 kgf-m, 18.1 ft. lbs.)
CAUTION: Be sure to alternately tighten the bolts.
15) Temporarily install the rack, and then operate it from lock to lock two or three times to make it fit in. Remove the grease blocking air vent
hole.
CAUTION: If operating the rack from lock to lock without installing tie-rod, it may damage the oil seal. Always install the tie-rods LH and
RH.
16) Apply a coat of grease to the sliding surface of sleeve and seating surface of spring, and then insert sleeve into steering body.
Charge the adjusting screw with grease, and then insert the spring into adjusting screw and install on steering body.
17) Tighten the adjusting screw to specified torque.