Hatchback 2WD F4-1781cc 1.8L SOHC (1987)

Steering Gear: Service and Repair
Power
Removal/Installation
1.
Disconnect the battery ground cable.
2.
Raise and support vehicle on suitable jackstands and remove front wheels.
3.
Remove tie rod end castle nut cotter pin and loosen castle nut.
4.
Remove tie rod end from knuckle arm using a suitable puller. Apply penetrating oil to tie rod end to facilitate removal.
5.
Remove skid plate to gain access to steering gear.
6.
Remove exhaust air stove.
7.
Disconnect oxygen sensor and remove exhaust manifold to engine retaining nuts.
8.
Remove boot protector.
9.
Remove flare nuts from center of power steering gearbox.
10.
Drain fluid by rotating steering wheel clockwise and counterclockwise. It will facilitate power steering fluid removal to install vinyl pipes to
gearbox to direct fluid into suitable container.
11.
Remove bolts on bottom and top sides of universal joint assembly.
12.
Remove control valve flare nuts above crossmember. Remove flare nut with 14 mm width across flat with tools 925670000 and 925680000.
13.
Remove piping and gearbox to crossmember retaining bolts.
14.
Remove power steering piping.
15.
Remove gear box to crossmember retaining bolts and power steering gear box and clamp.
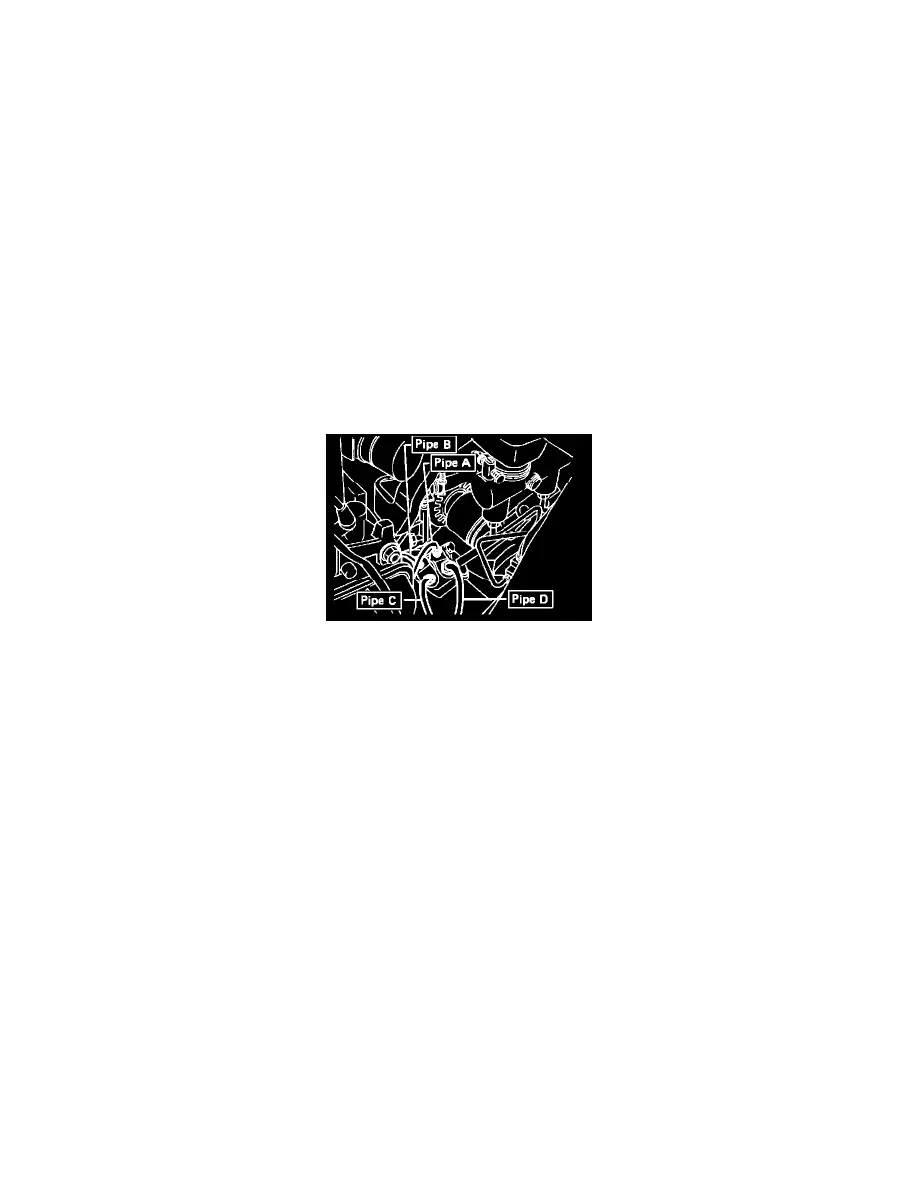
Fig. 7 Power steering fluid pipe locations
16.
Reverse procedure to install. Torque gearbox to crossmember retaining bolts to 33-40 ft.lbs. Torque pipe A and B to 11.59-14.49 ft.lbs., pipe C to
18.1-25.4 ft.lbs. and pipe D to 28.9-32.6 ft.lbs., Fig. 7. Torque the exhaust manifold to engine nuts to 18.8-21.7 ft.lbs., exhaust pipe nuts and bolts
to 31.2-38.4 ft.lbs. and hanger bolt to 18.1-25.4 ft.lbs. Torque the nuts at the yoke to 15.9-18.8 ft.lbs. Torque the tie rod end castle nut to 18-22
ft.lbs.
Disassembly/Assembly
