
Impreza 2.5 RS Coupe AWD F4-2.5L SOHC (2001)
Clutch Pedal Assembly: Service and Repair
Removal and Installation
A: REMOVAL
1. MECHANICAL APPLICATION TYPE
1. Disconnect ground cable from battery.
2. Disconnect clutch cable from release lever.
3. Remove instrument panel lower cover from instrument panel.
4. Disconnect the following parts from pedal bracket.
1. Operating rod of brake booster
2. Electrical connectors (for stop light switch, etc.)
5. Remove clevis pin which secures pedal to push rod.
6. Remove bolts and nuts which secure brake and clutch pedals, and remove pedal bracket and clutch cable as a unit.
CAUTION: Before removing clutch cable from toe board, remove grommet. Slowly remove clutch cable, being careful not to scratch it.
7. Depress clutch pedal, disconnect clutch cable from clutch pedal.
2. HYDRAULIC APPLICATION TYPE
1. Remove steering bolts.
2. Raise vehicle on hoist and remove the two bolts which secure steering unit to underside of body.
3. Lower vehicle to floor.
4. Remove instrument panel lower cover from instrument panel.
5. Disconnect the following parts from pedal bracket.
^
Operating rod of brake booster
^
Electrical connectors (for stop light switch, etc.)
6. Remove clevis pin which secures lever to push rod.
7. Remove nut which secures clutch master cylinder.
8. Remove steering assembly.
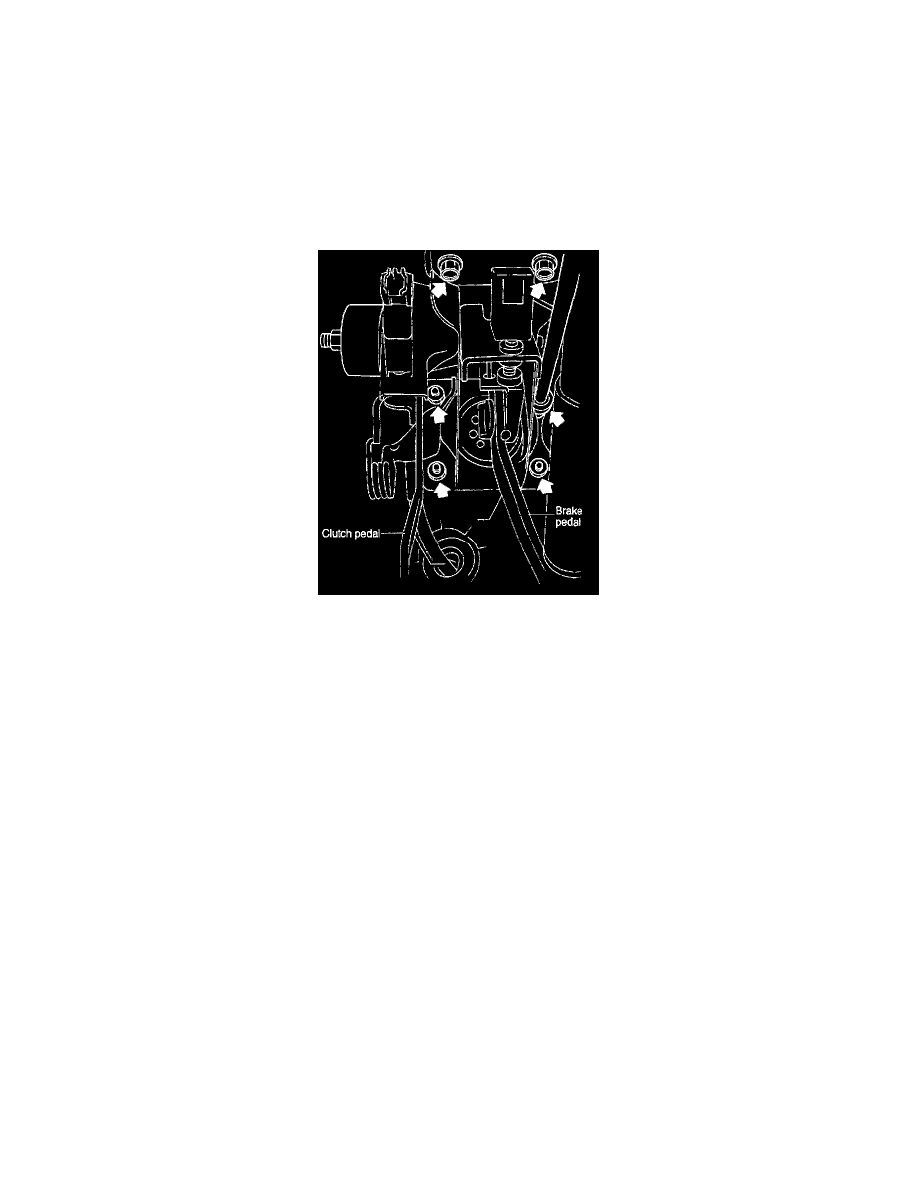
9. Remove bolts and nuts which secure brake and clutch pedals, and remove pedal assembly.
B: INSTALLATION