
Impreza 2.5 RS Coupe AWD F4-2.5L SOHC (2001)
Differential Mount: Service and Repair
A: REMOVAL
1. T-TYPE
1. Disconnect ground terminal from battery.
2. Move selector lever or gear shift lever to "N".
3. Release the parking brake.
4. Loosen wheel nuts.
5. Jack-up vehicle and support it with sturdy racks.
6. Remove wheels.
7. Remove rear exhaust pipe and muffler.
8. Remove rear differential front member.
NOTE: When removing rear differential front member, work the removal procedure as rear differential.
2. VA-TYPE
1. Disconnect ground terminal from battery.
2. Move selector lever or gear shift lever to "N".
3. Release the parking brake.
4. Loosen wheel nuts.
5. Jack-up vehicle and support it with sturdy racks.
6. Remove wheels.
7. Remove rear exhaust pipe and muffler.
8. Remove rear differential front member.
NOTE: When removing rear differential front member, work the removal procedure as rear differential.
B: INSTALLATION
1. T-TYPE
To install, reverse the removal sequence.
1. Position front member on body by passing it under parking brake cable and securing to rear differential.
NOTE: When installing rear differential front member, do not confuse the installation sequence of the stopper.
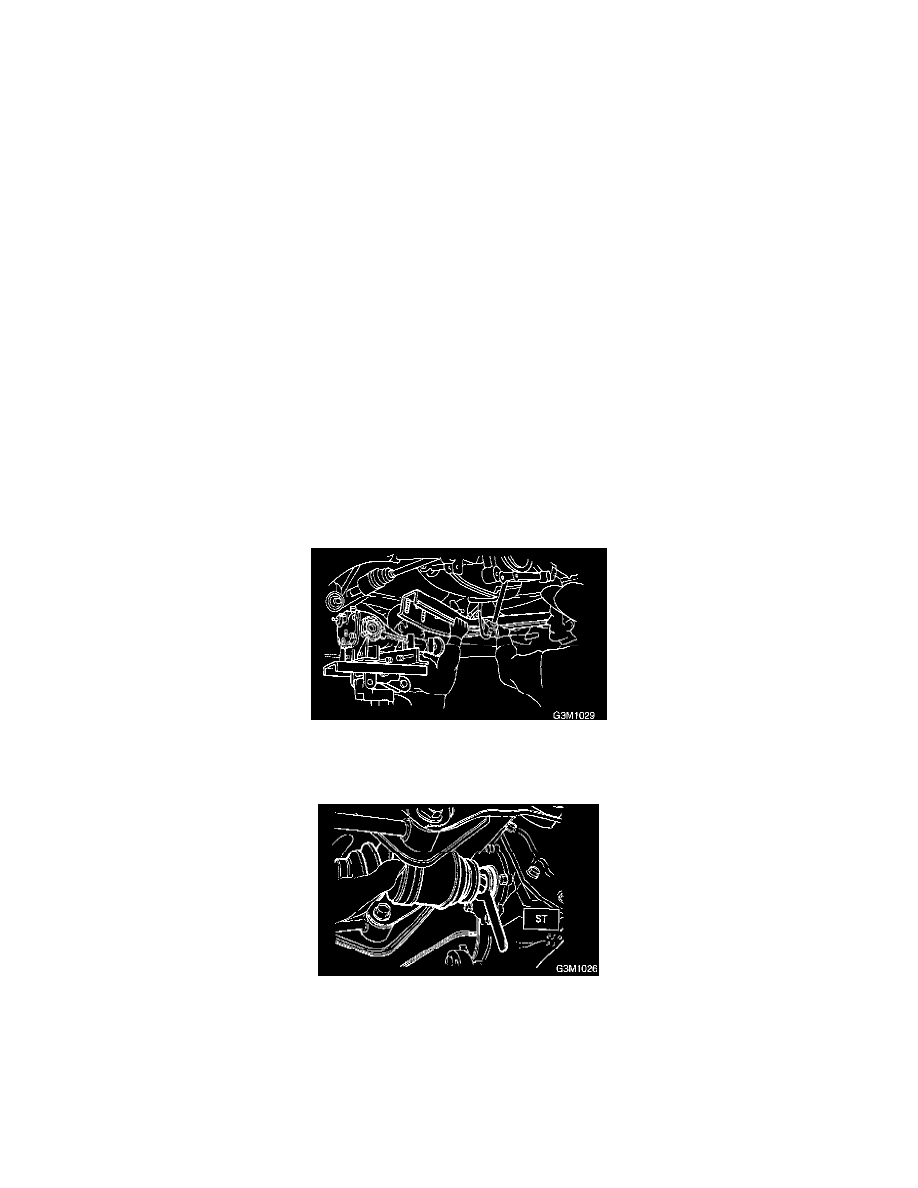
2. Insert DOJ of rear drive shaft into rear differential.
CAUTION: Before inserting, replace the differential side oil seal with a new one.
ST 28099PA090 SIDE OIL SEAL PROTECTOR
3. Installing procedure hereafter is in the reverse order of removal.
2. VA-TYPE
To install, reverse the removal sequence.