
Impreza 2.5 RS Sedan AWD F4-2.5L SOHC (2002)
3. Install the ABS sensor harness to strut.
Tightening torque: 33 Nm (3.4 kgf-m, 24.3 ft. lbs.)
4. Install bolts which secure the brake hose to strut.
Tightening torque: 33 Nm (3.4 kgf-m, 24.3 ft. lbs.)
5. Install the front wheels.
NOTE: Check wheel alignment and adjust if necessary.
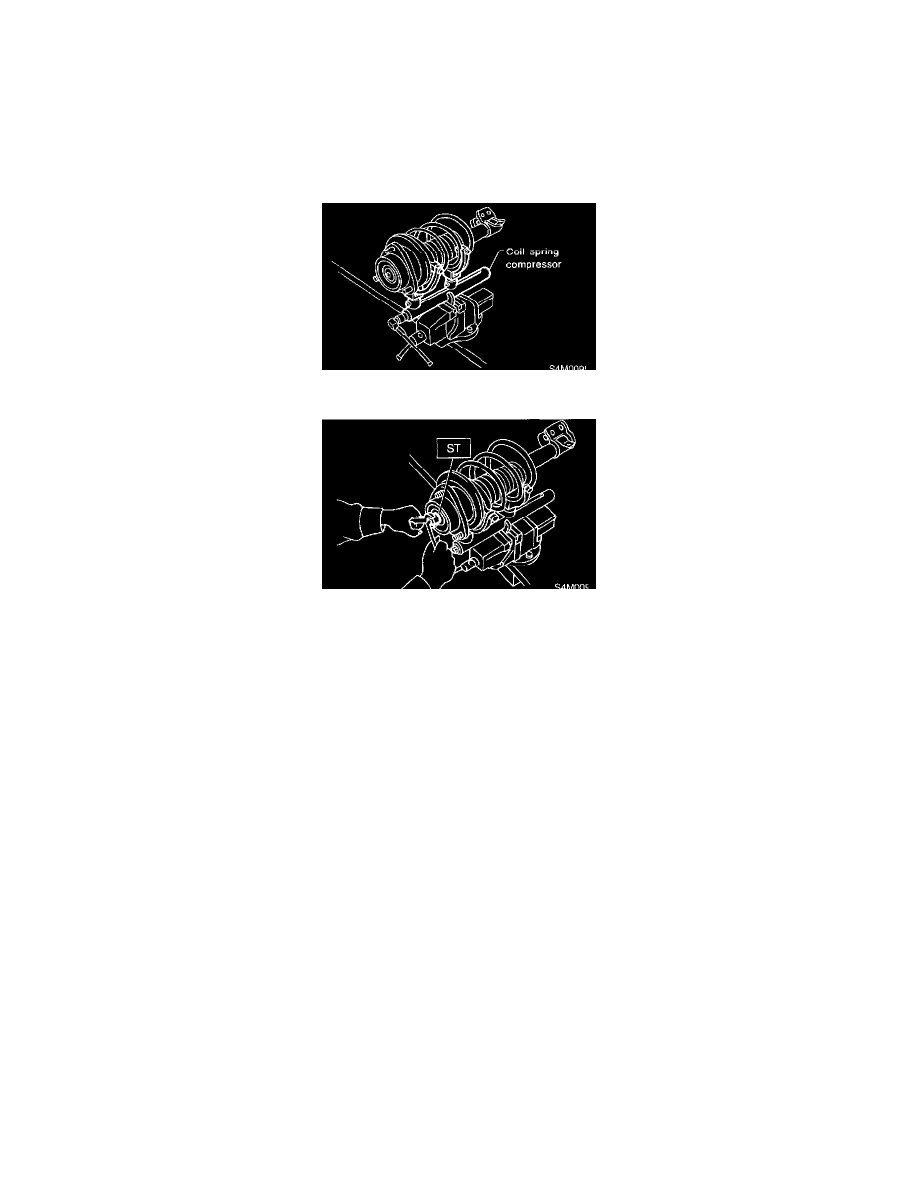
C: DISASSEMBLY
1. Using a coil spring compressor, compress the coil spring.
2. Using the ST, remove the self-locking nut.
ST 927760000 STRUT MOUNT SOCKET
3. Remove the strut mount, upper spring seat and rubber seat from strut.
4. Gradually decreasing the compression force, and remove the coil spring.
5. Remove the dust cover and helper spring.
D: ASSEMBLY
1. Before installing the coil spring, strut mount, etc., on the strut, check for the presence of air in the dampening force generating mechanism of the
strut since air prevents proper dampening force from being produced.
2. Checking for the presence of air:
1. Place the strut vertically with the piston rod facing up.
2. Move the piston rod to the center of its entire stroke.
3. While holding the piston rod end with fingertips, move the rod up and down.
4. If the piston rod moves at least 10 mm (0.39 inch) in the former step, purge air from the strut.
3. Air purging procedure:
1. Place the strut vertically with the piston rod facing up.
2. Fully extend the piston rod.
3. With the piston rod fully extended, place the piston rod side down. The strut must stand vertically.
4. Fully contract the piston rod.
5. Repeat 3 or 4 times from the first step.
NOTE: After completely purging air from the strut, be sure to place the strut with the piston rod facing up. If it is laid down, check for entry
of air in the strut as outlined under "Checking for the presence of air".