
Impreza 2.5 RS Sedan AWD F4-2.5L SOHC (2002)
Suspension Strut / Shock Absorber: Service and Repair
Rear Suspension
A: REMOVAL
1. Remove the rear seat cushion and backrest. (Sedan model)
2. Remove the strut cap of quarter trim. (Wagon model)
3. Loosen the rear wheel nuts.
4. Jack-up the vehicle, support it with safety stands (rigid racks) and remove the rear wheels.
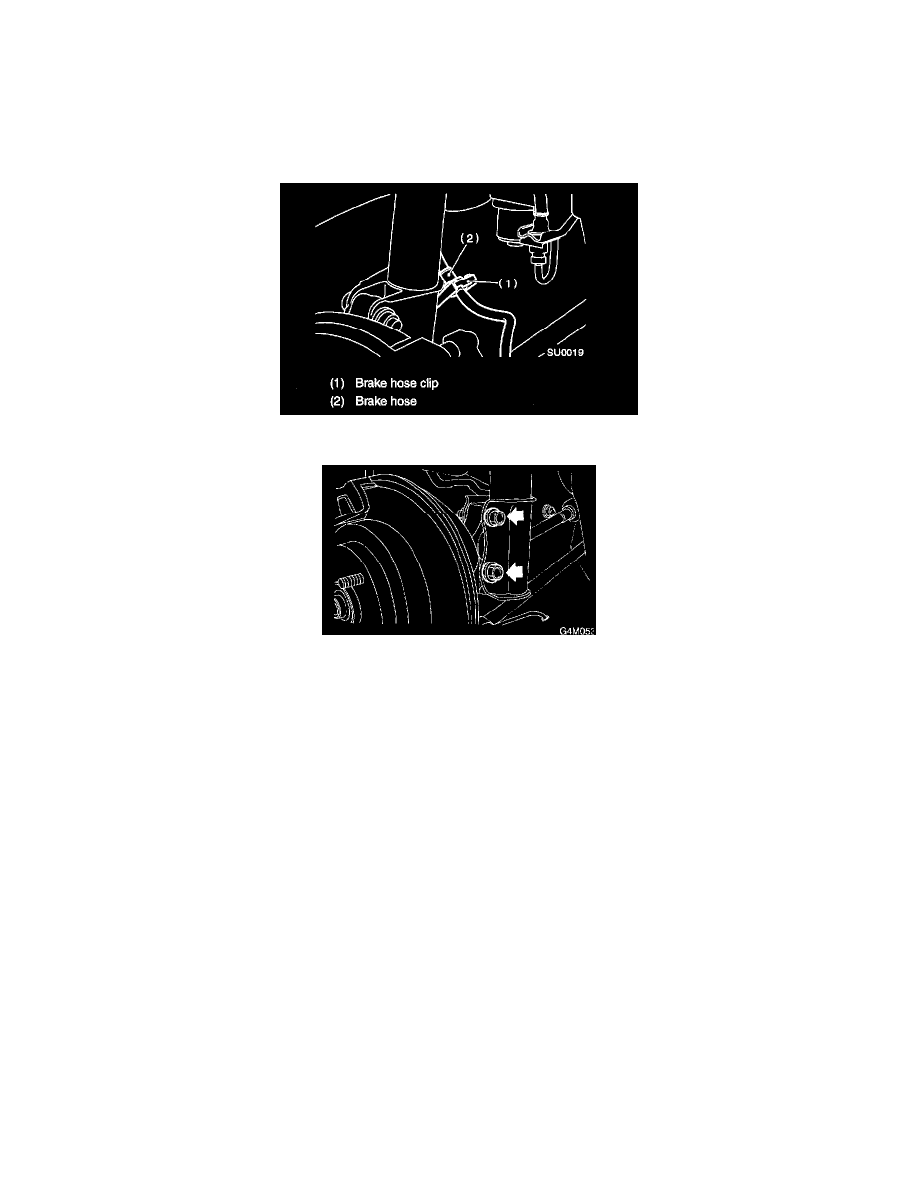
5. Remove the brake hose clip and remove the brake hose from rear strut.
6. Remove the bolts, which secure rear strut to housing.
7. Remove the nuts securing strut mount to body.
B: INSTALLATION
1. Tighten the self-locking nut used to secure strut mount to car body.
CAUTION: Discard the loosened self-locking nut, and replace with a new one.
Tightening torque: 20 Nm (2.0 kgf-m, 14.5 ft. lbs.)
2. Tighten the bolts which secure rear strut to housing.
Tightening torque: 220 Nm (22.4 kgf-m, 162 ft. lbs.)
CAUTION: Discard the loosened self-locking nut, and re place with a new one.
3. Install the brake hose to lower side of strut, then insert brake hose clip.
CAUTION:
^
Check that the hose clip is positioned properly.
^
Check the brake hose for twisting, or excessive tension.
^
(Model equipped with ABS)
Do not subject the ABS sensor harness to excessive tension.
4. Lower the vehicle and tighten wheel nut.
Tightening torque: 90 Nm (9.2 kgf-m, 66 ft. lbs.)
5. Sedan model: Install the rear seat backrest and rear seat cushion.
Wagon model: Install the strut cap to rear quarter trim.
NOTE: Check wheel alignment and adjust if necessary.