
Impreza 2.5 RS Sedan AWD F4-2.5L SOHC (2002)
CAUTION: Do not hammer drive shaft when installing it.
3. Tighten the axle nut temporarily.
4. Install the SFJ on transmission spindle and drive spring pin into place.
CAUTION: Always use a new spring pin.
5. Connect the transverse link to the housing.
Tightening torque (self-locking nut): 49 Nm (5.0 kgf-cm, 36 ft. lbs.)
CAUTION: Use a new self-locking nut.
6. Install the stabilizer bracket.
7. While depressing brake pedal, tighten the axle nut to the specified torque.
Tightening torque: 186 Nm (19 kgf-cm, 137 ft. lbs.)
CAUTION:
^
Use a new axle nut.
^
Always tighten axle nut before installing wheel on vehicle. If wheel is installed and comes in contact with ground when axle nut is loose, wheel
bearings may be damaged.
^
Be sure to tighten axle nut to specified torque. Do not overtighten it as this may damage wheel bearing.
8. After tightening axle nut, lock it securely.
Disassembly and Reassembly
C: DISASSEMBLY
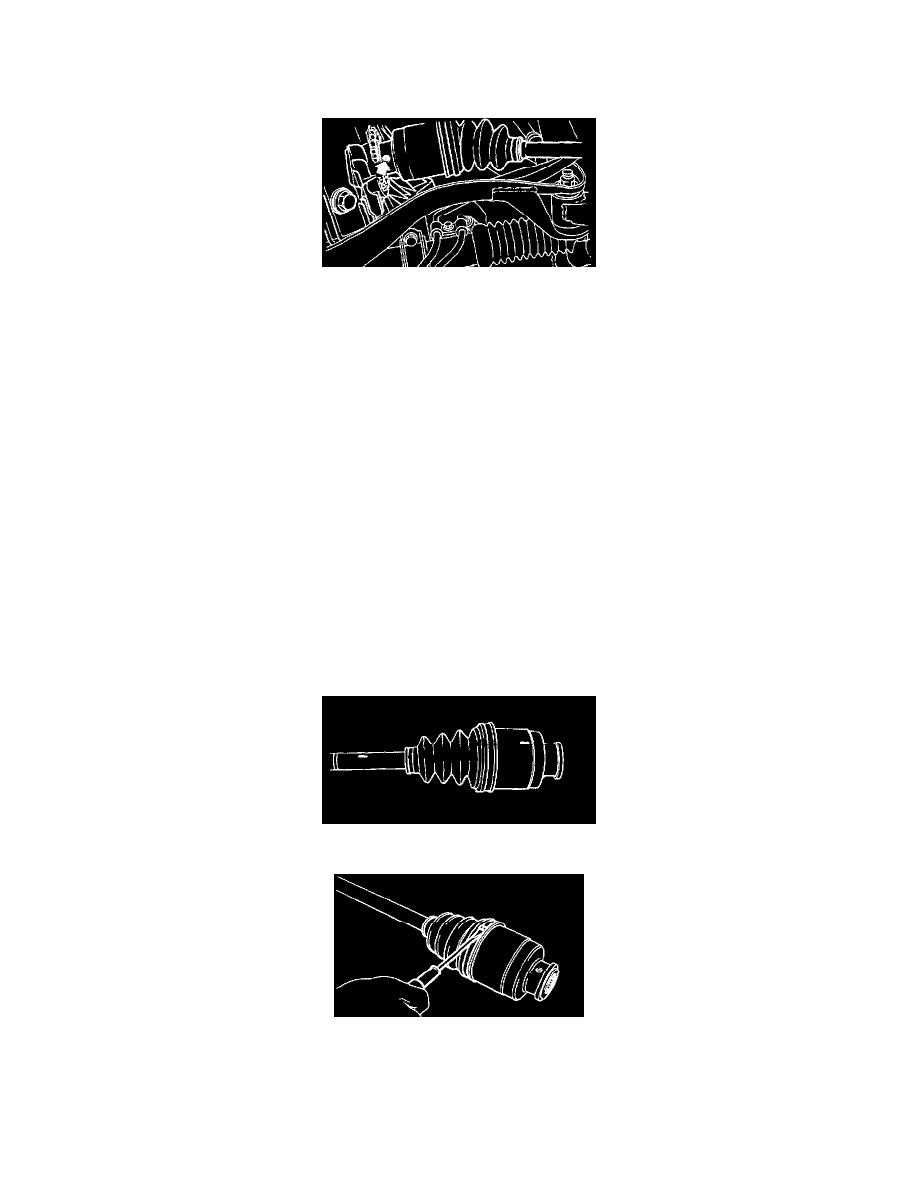
1. Place alignment marks on the shaft and outer race.
2. Remove the SFJ boot band and boot.
CAUTION: Be careful not to damage boot.