
Impreza Brighton Coupe AWD F4-2.2L SOHC (1997)
Fuel Injector: Technical Service Bulletins
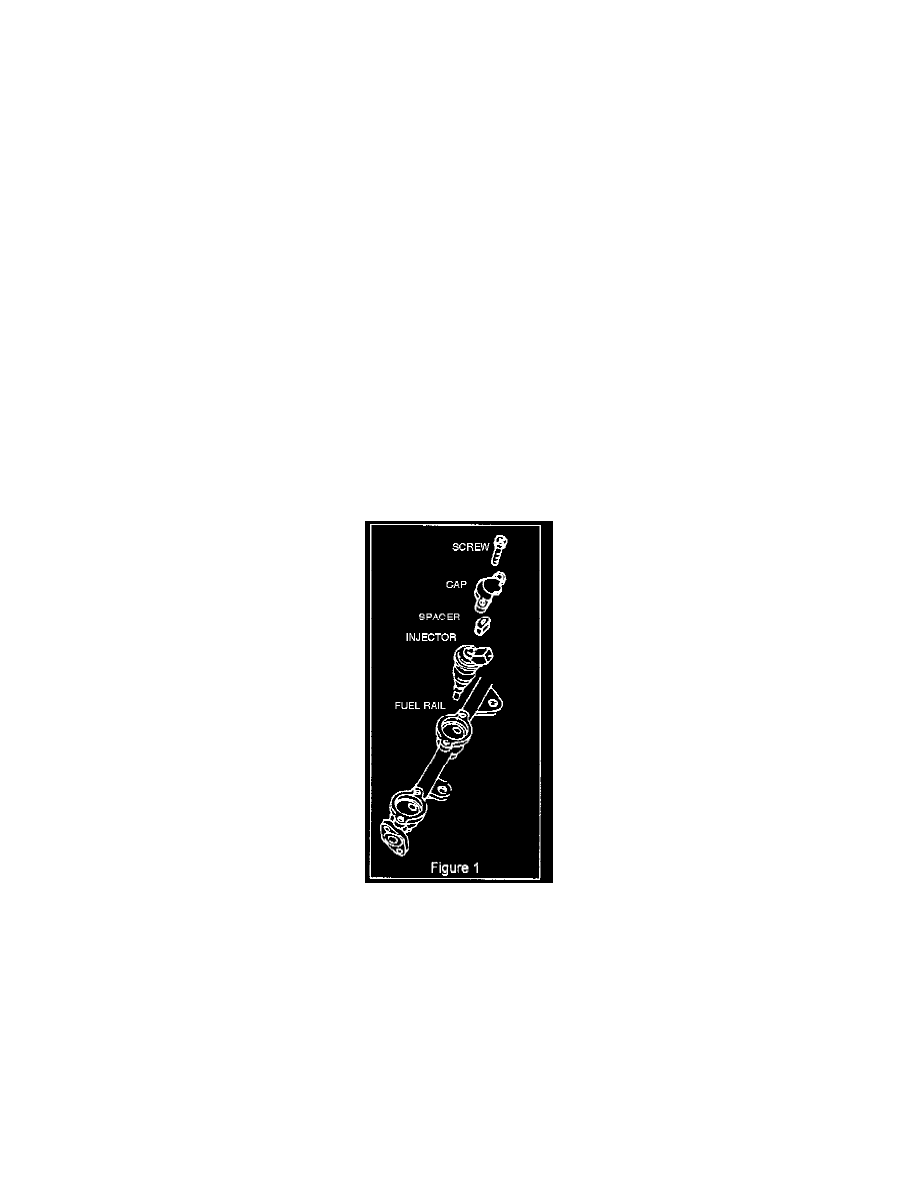
Fuel Injector - Removal Procedures
NUMBER: 09-33-95
DATE: 11-9-95
APPLICABILITY: ALL LEGACY, IMPREZA AND SVX VEHICLES
SUBJECT:
FUEL INJECTOR REMOVAL PROCEDURES
When removing and/or replacing the fuel injector(s), it is imperative that the following instructions be strictly adhered to. Failing to do so may result in
damage to the injector(s).
NOTE:
Pliers or any other tools not specified in these instructions should not be used under any circumstances to prevent damage to the fuel injector(s).
The removed fuel injectors will be remanufactured to new standards and used as a future replacement part(s). Physically damaged fuel injector(s) that
cannot be remanufactured will not be accepted by Subaru of America Inc. and a partial dealer charge back will be issued.
FUEL INJECTOR REMOVAL
1.
Disconnect the fuel pump connector. Start the engine and allow the engine to stall. Crank the engine for 5 seconds and turn the ignition switch to
the off position.
2.
Remove the air cleaner upper case, air flow meter and the air inlet boot as an assembly. On SVX vehicles also remove the power steering hose
tie-wrap on the right side of the engine.
3.
Remove the fuel injector cap(s) being very careful not to misplace the rubber spacer(s) fitted between the cap(s) and the injector(s). The rubber
spacer(s) must be reinstalled with the new injector(s). Refer to Figure 1.