
Impreza GT F4-2.5L Turbo (2009)
4) Apply proper amount of liquid gasket to the entire oil pan mating surface.
Liquid gasket:
THREE BOND 1217B (Part No. K0877YA020) or equivalent
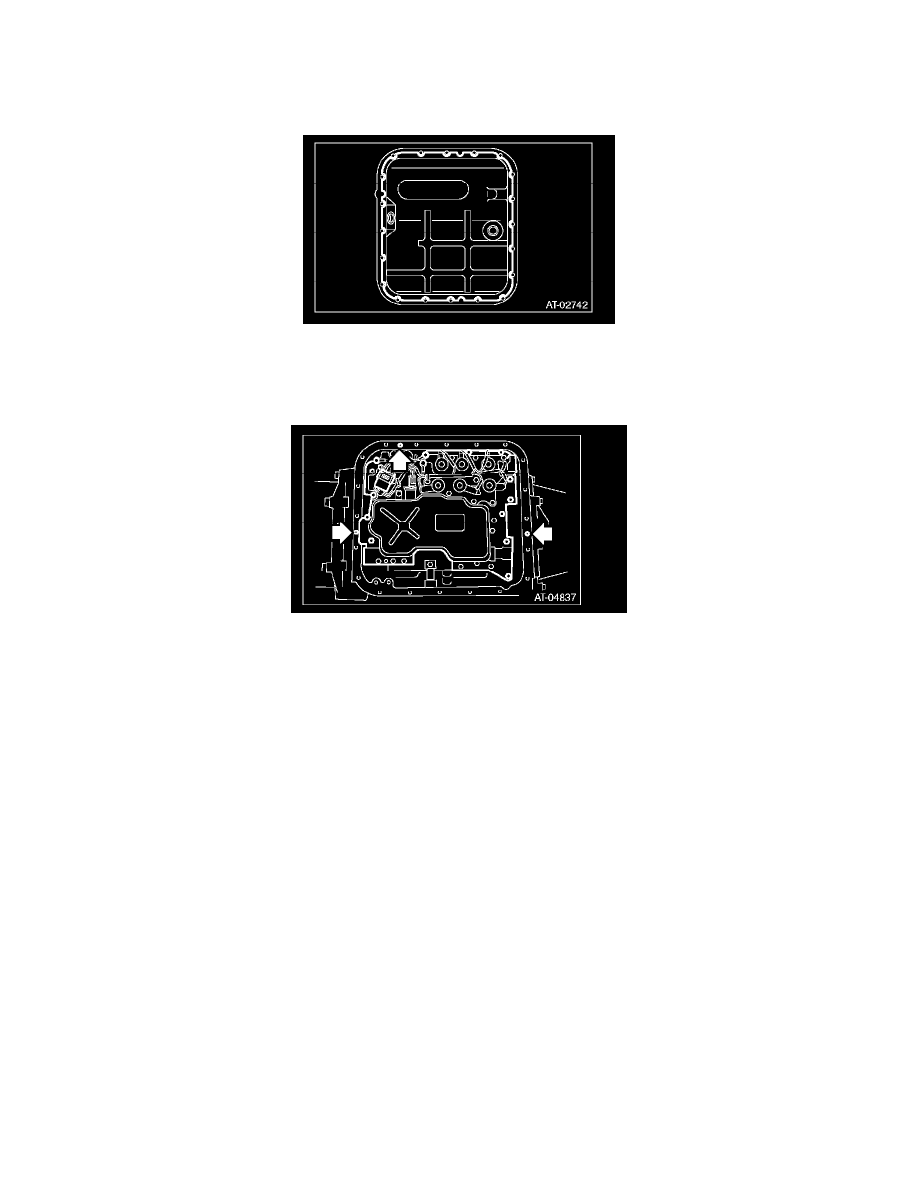
5) Fill the 3 holes aside from the bolt holes in the transmission case, with liquid gasket.
Liquid gasket:
THREE BOND 1217B (Part No. K0877YA020) or equivalent
6) Install the oil pan by equally tightening the bolts.
Tightening torque:
5 N-m (0.5 kgf-m, 3.7 ft-lb)
7) Fill ATF from the oil charge pipe.
8) Bleed the air of control valve.
9) Check the ATF level.
Inspection
INSPECTION
Check the control valve strainer for holes, damages or adhesion of dust and other foreign particles.
Removal
Control Valve Body
REMOVAL
1) Set the vehicle on a lift.
2) Disconnect the ground cable from battery.
3) Lift up the vehicle.
4) Clean the transmission exterior.
5) Remove the drain plug (ATF) to drain ATF.
CAUTION:
Directly after the vehicle has been running or the engine has been long idle running, the ATF is hot. Be careful not to burn yourself.