
Impreza L Sedan F4-2.2L SOHC (1997)
Seat Belt: Service and Repair
Rear Seat Belt
REMOVAL AND INSTALLATION
1. Remove rear cushion from body.
2. Remove rear backrest from body.
3. Remove screw from lower side of rear quarter trim, and lift-up lower side of rear quarter trim.
4. Remove trim panel rear bracket upper.
5. Remove rear quarter trim.
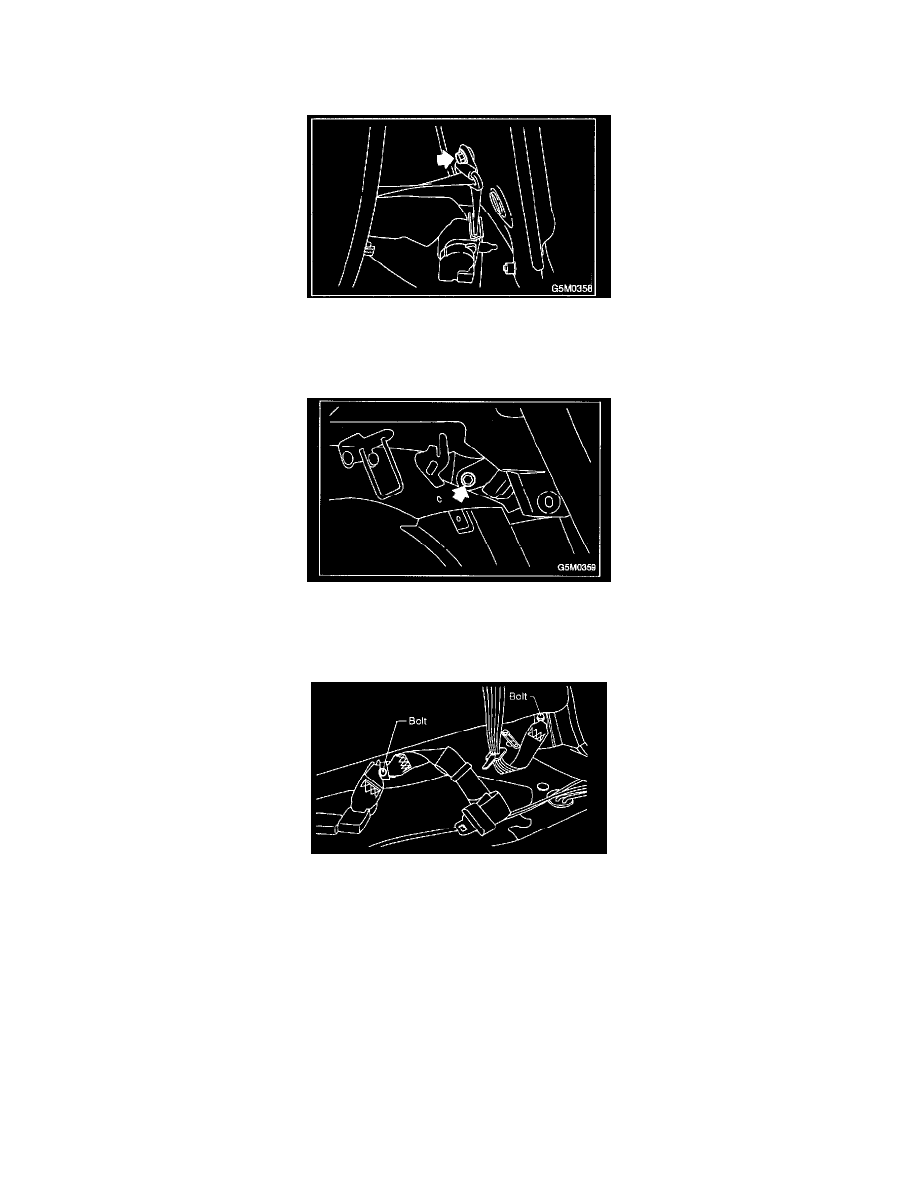
6. Remove outer anchor bolts.
7. Remove rear bolt from ELR.
8. Remove belt from outlet in rear quarter along slit.
9. Remove inner bolts which secure outer seat.
10. Remove washer from bolt, then remove bolt, belt assembly, and anchor plate bracket.
11. Remove inner bolts (2 places) from center seat.
12. Remove washer from bolt, and remove bolt, belt assembly and anchor plate bracket.
13. Installation is in the reverse order of removal. Ensure that seat belt is properly reeled on and off after installation of ELR.
CAUTION:
-
Be extremely careful not to confuse center seat anchor plate with outer seat anchor plate during installation.
-
Ensure that seat belts are free from twisting after installation.
-
Ensure that tongues, buckles and belts are properly placed on seat.