
Impreza L Sedan F4-2.2L SOHC (1997)
4. Remove the snap ring with ST1, ST2 and ST3, and take out the spring retainer.
ST1 399893600 Pliers, or equivalent.
ST2 398673600 Compressor, or equivalent.
ST3 498627000 Seat, or equivalent.
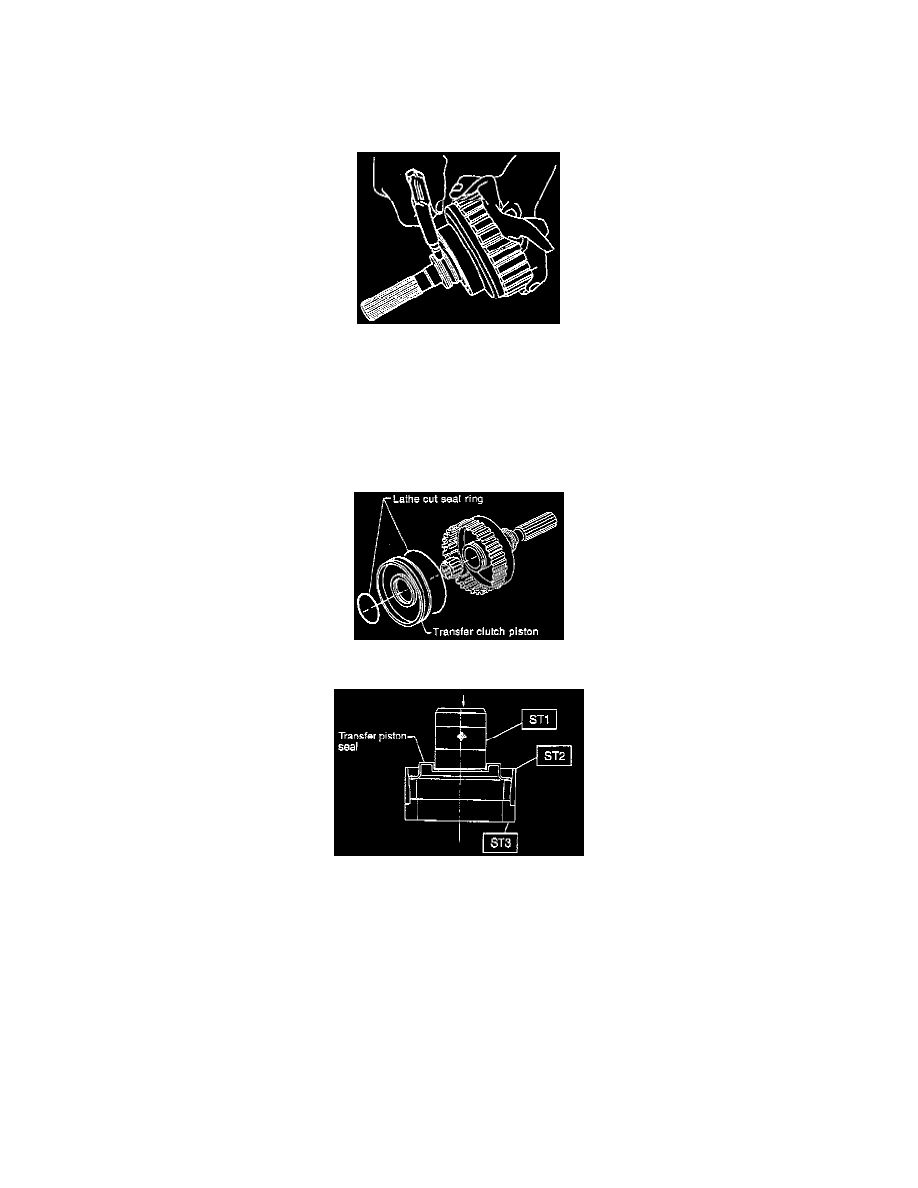
5. Apply compressed air to the rear drive shaft to remove the piston.
INSPECTION
1. Check the drive plate facing for wear and damage.
2. Check the snap ring for wear, return spring for permanent set and breakage, and spring retainer for deformation.
3. Check the lathe cut ring for damage.
ASSEMBLY
1. Install the lathe cut seal ring to the I.D./O.D. of the transfer clutch piston.
2. Install piston.
a. Connect transfer clutch piston to rear drive shaft (until it reaches hole in valve body).
b. Install spring retainer to transfer clutch piston.
c. Using Special Tool (ST) 1, ST2 and ST3, attach transfer piston seal to ST2.
ST1 499247400 Installer, or equivalent.
ST2 499257400 Piston Guide, or equivalent.
ST3 498267400 Table, or equivalent.
CAUTION: Be careful not to tilt transfer piston seal.