
Impreza L Sedan F4-2.2L SOHC (1997)
Valve Body: Service and Repair
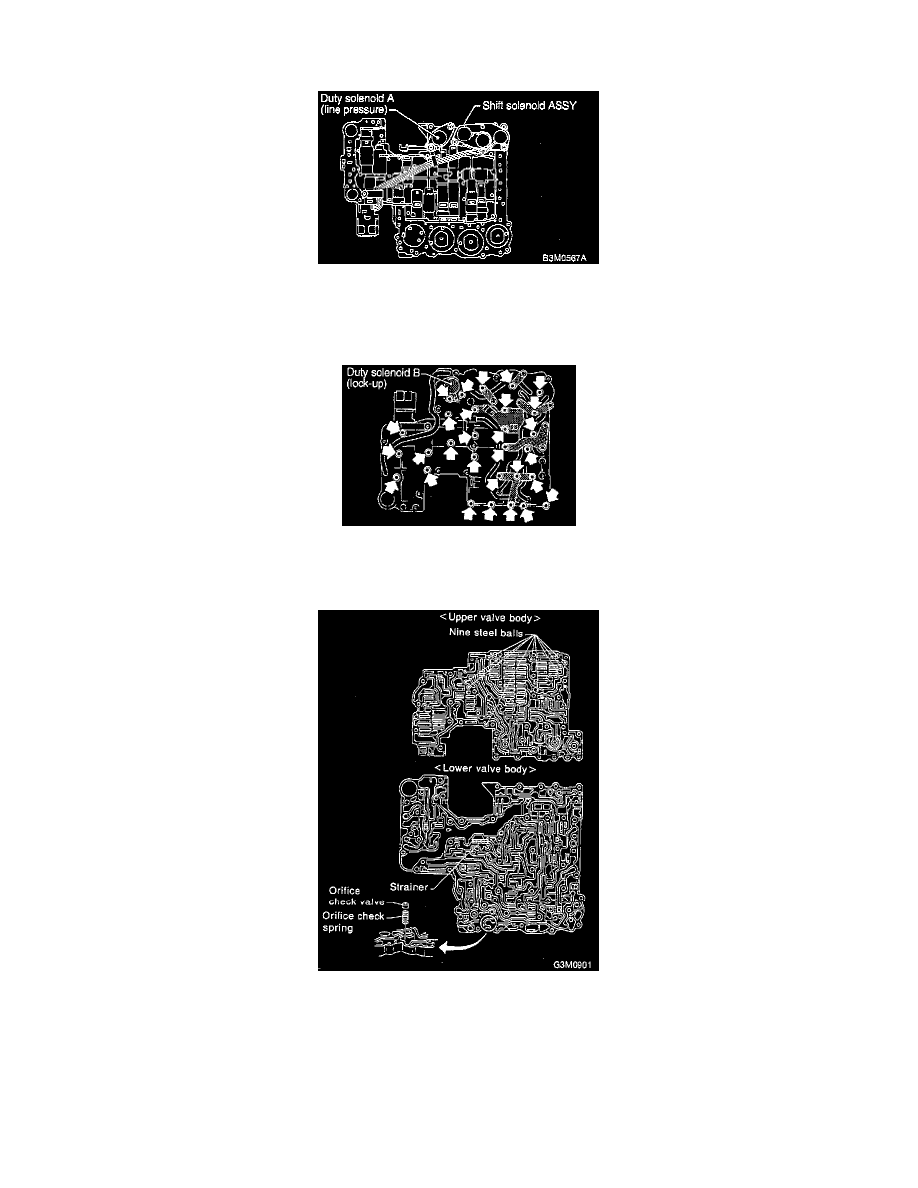
DISASSEMBLY
1. Remove the following parts from the upper valve body.
a. Shift solenoid assembly (shift 1-2-3)
b. Duty solenoid A (line pressure)
2. Remove the following parts from the lower valve body.
a. Duty solenoid B (lock-up)
b. Bracket
3. Separate the upper valve body and lower valve body.
CAUTION:
-
Do not lose the nine (9) steel balls contained in upper valve body.
-
Do not lose an orifice and a strainer contained in the lower valve body.
NOTE:
Remove the upper-lower valve body tightening bolts. Then remove two locating bolts.(<-)
During ordinary servicing, clean the control valve bodies in this condition, without further disassembly.
In the event of a seized clutch or other problem, disassemble the control valve bodies further, and clean the component parts.