
Impreza RS Coupe AWD F4-2.5L SOHC (1999)
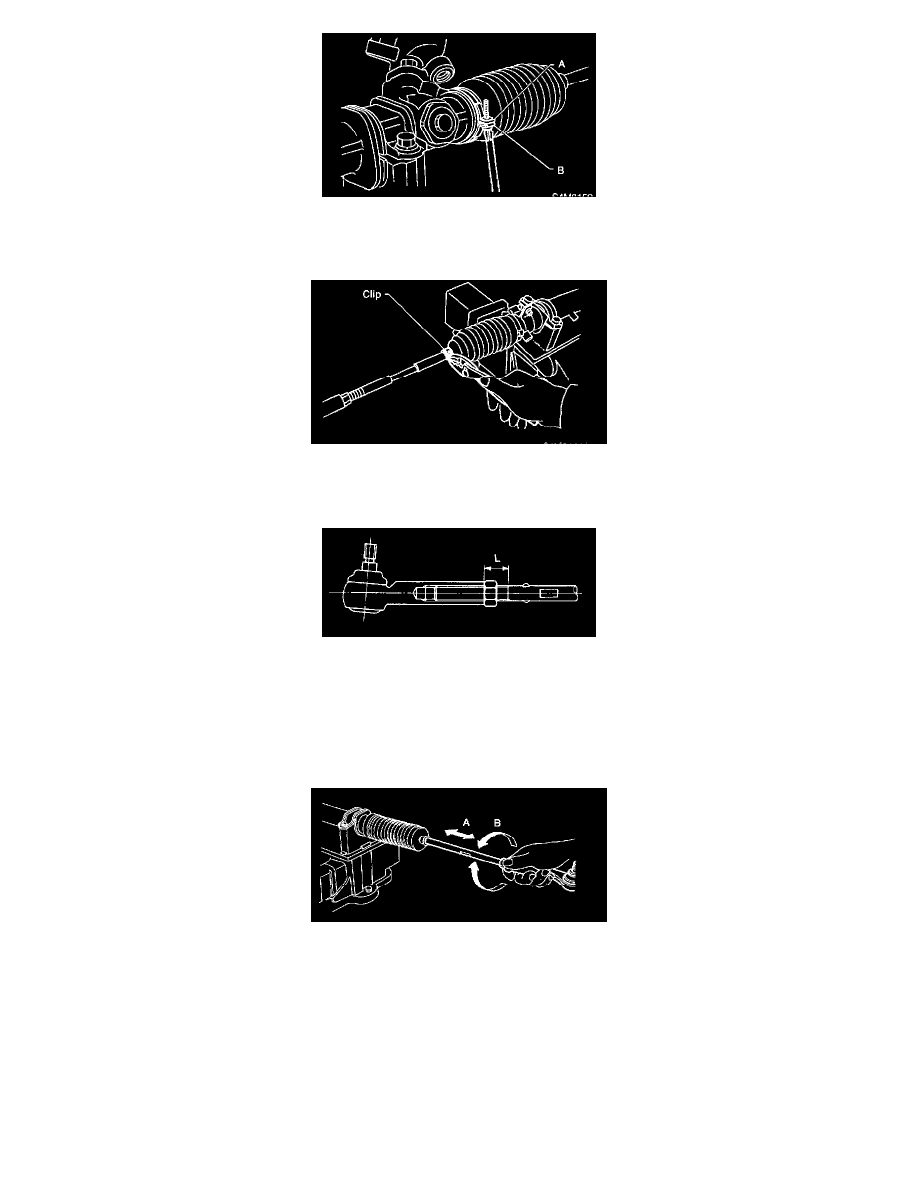
11. Using a screwdriver, tighten the screw until the ends "A" and "B" of the band come into contact with each other.
NOTE: Always tighten the band from the underside of the gear box.
12. Fix boot end with clip (small).
CAUTION: After Installing, check boot end is positioned into groove on tie-rod.
13. If tie-rod end was removed, screw in lock nut and tie rod end to screwed portion of tie-rod, and tighten lock nut temporarily in a position as shown
in figure.
Installed tie-rod length: L
15 mm (0.59 inch)
NOTE: Pay attention to difference between right and left tie-rod ends.
14. Inspect gearbox as follows:
"A" Holding tie-rod end, repeat lock to lock two or three times as quickly as possible.
"B" Holding tie-rod end, turn it slowly at a radius one or two times as large as possible.
After all, make sure that boot is installed in the specified position without deflation.
15. Remove gearbox from ST.
ST 926200000 STAND
16. Install four pipes on gearbox.
(1) Connect pipes A and B to four pipe joints of gearbox. Connect upper pipe B first, and lower pipe A.
Tightening torque: