
Impreza WRX STI F4-2.5L DOHC Turbo (2007)
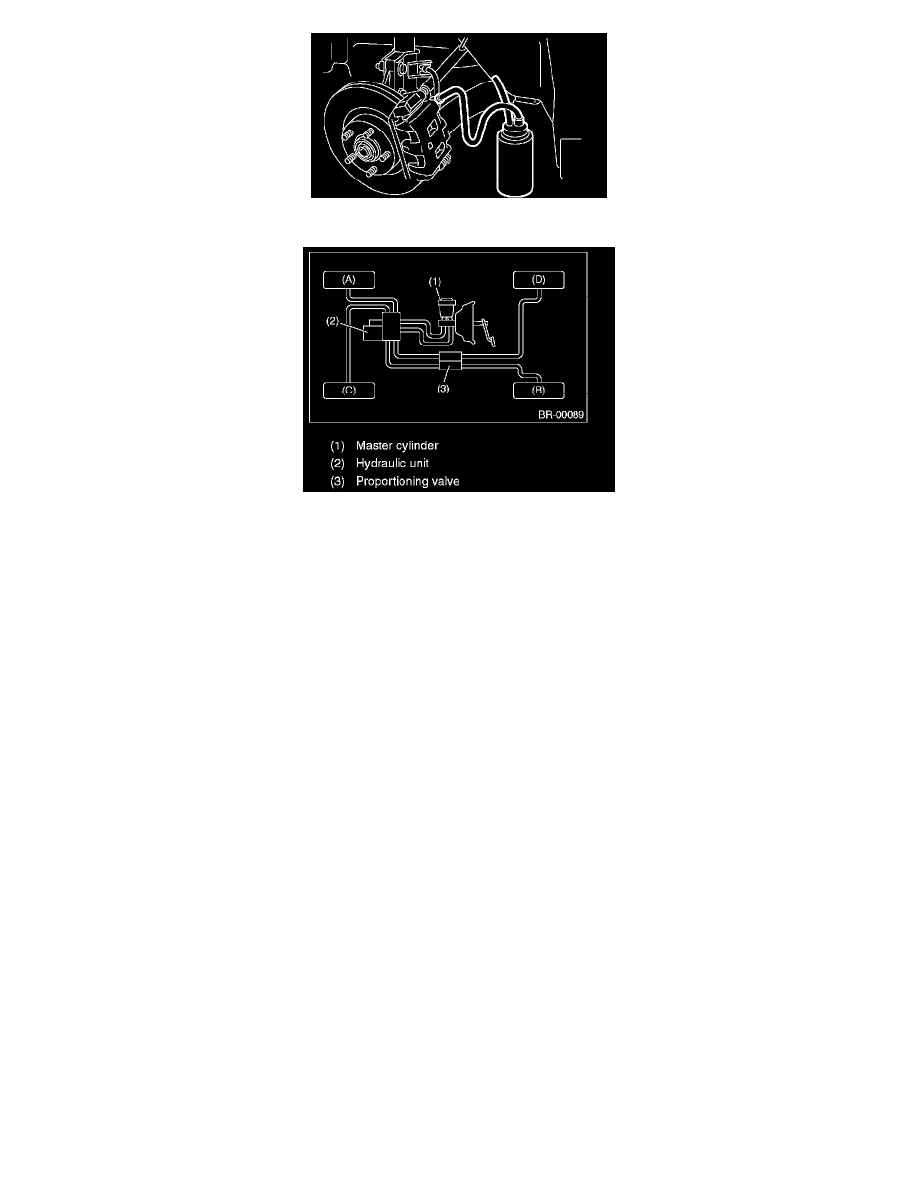
CAUTION: Brake fluid replacement sequence; (A) Front right -> (B) Rear left -> (C) Front left -> (D) Rear right
3. Slowly depress the brake pedal and keep it depressed. Then, open the air bleeder screw to discharge air together with the fluid.
Release the air bleeder screw for 1 to 2 seconds.
Next, with the air bleeder screw closed, slowly release the brake pedal.
Repeat these steps until there are no more air bubbles in the vinyl tube.
Allow 3 to 4 seconds between two brake pedal operations.
CAUTION: Cover the air bleeder screw with waste cloth, when loosening it, to prevent brake fluid from being splashed over surrounding
parts.
NOTE: The brake pedal operating must be very slow.
4. Tighten the air bleeder screw securely when no air bubbles are visible.
Tightening torque:
Except 17 inch type: 8 Nm (0.8 kgf-m, 5.8 ft. lbs.)
17 inch type: 20 Nm (2.0 kgf-m, 14.5 ft. lbs.)
NOTE: For 17 inch type, do not allow brake fluid come in contact with caliper body; wash away with water. (Especially for air bleeder
screw.)
5. Perform these steps for the brakes connecting to secondary chamber of master cylinder, first, and then for the ones connecting to primary
chamber. With all procedures completed, fully depress the brake pedal and keep it in that position for approximately 20 seconds to make
sure that there is no leak evident in the entire system.
6. Check the pedal stroke.
While the engine is idling, depress the brake pedal with a 490 Nm (50 kgf, 110 ft. lbs.) load and measure the distance between brake pedal
and steering wheel. With the brake pedal released, measure the distance between pedal and steering wheel again. The difference between
the two measurements must not be more than specified.