
Impreza WRX STI F4-2.5L DOHC Turbo (2007)
Be careful not to damage the inner oil seal lip and tone wheel.
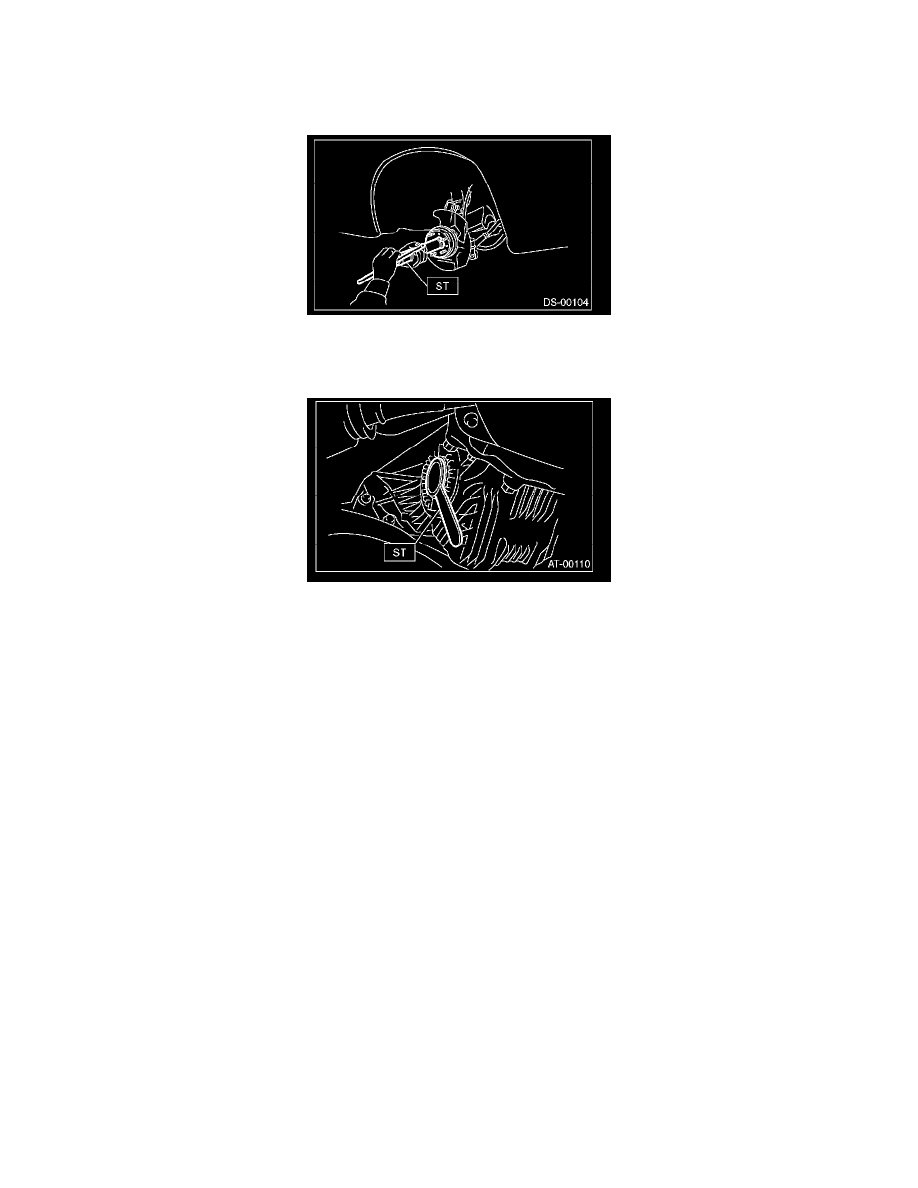
3) Using the ST1 and ST2, pull the drive shaft into place.
ST1 922431000 AXLE SHAFT INSTALLER
ST2 927390000 ADAPTER
4) Tighten the axle nut temporarily.
5) Using the ST, install the front drive shaft to transmission.
ST 28399SA010 OIL SEAL PROTECTOR
6) Connect the transverse link to housing.
Tightening torque:
50 Nm (5.1 kgf-m, 37 ft. lbs.)
7) Install the stabilizer bracket.
8) While depressing the brake pedal, tighten the axle nut to specified torque.
Tightening torque:
220 Nm (22.4 kgf-m, 162 ft. lbs.)
CAUTION:
^
Always tighten the axle nut before installing wheel on vehicle. If the tire is installed and comes in contact with ground when axle nut is loose,
wheel bearings may be damaged.
^
Do not overtighten it as this may damage the wheel bearing.
9) After tightening the axle nut, caulk and lock it.
Rear Drive Shaft Removal
Rear Drive Shaft
REMOVAL
1) Disconnect the ground cable from battery.
2) Lift-up the vehicle, and remove the rear wheel.
3) Unlock the axle nut.