
Impreza WRX STI F4-2.5L Turbo (2008)
2. from the removed rear gate glass, completely remove the adhesive and molding.
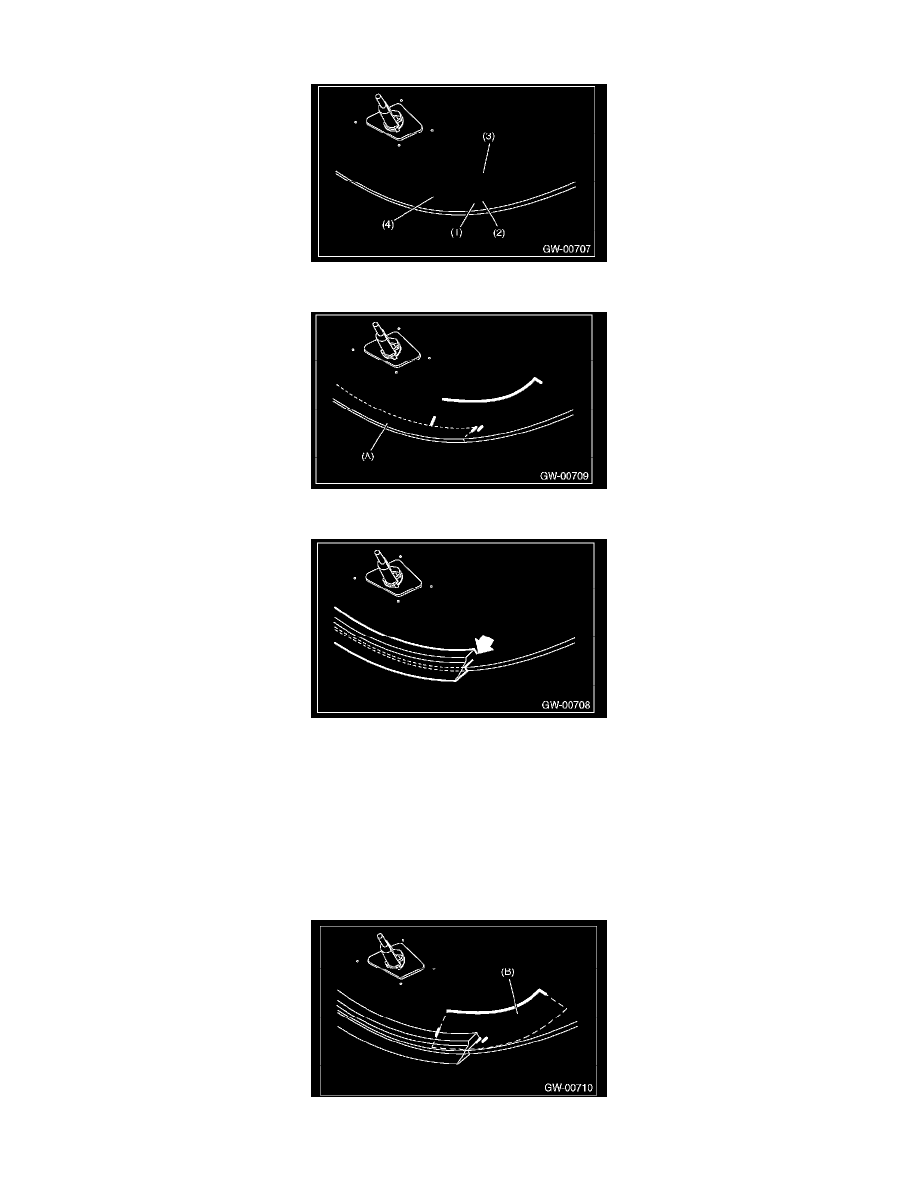
3. Check the silver print (1) (2) (3) (4) of the rear gate glass on the passenger room side surface.
4. Degrease the rear gate glass (passenger room side) molding adhesive surface (A) with a primer.
5. Remove the backing paper of the molding, and match the silver print (1) and the end of the molding.
6. Match the corner of the molding to the corner of the glass end surface, and adhere the molding to be within the silver print (1) on both sides.
CAUTION:
-
Apply the molding without pulling it, and while applying pressure.
-
After applying, push on the molding lightly to affix securely.
NOTE: When application of the molding is finished, if there is protrusion from the silver print (1) on the other side, cut with a razor blade so that
it is will be between the silver print (1) and (2).
7. Degrease the rear gate glass seal adhesion surface (B) with primer.
8. Remove the backing sheet of the sticker, and apply the sealer based on the positions of the silver print (3) and (4) of the rear gate glass (passenger
room side).