Legacy F4-2.5L DOHC Turbo (2005)

Body Integrated Unit Part 2
2. BODY INTEGRATED UNIT
Read Current Data
Read Current Data
OPERATION
1. On the "Main Menu" display screen, select the {Each System Check} and press the [YES] key.
2. On the "System Selection Menu" display screen, select the {Integ. Unit mode} and press the [YES] key.
3. On the "Integ. Unit mode failure diag" display screen, select the {Current Data Display & Save} and press the [YES] key.
4. On the "Data Display Menu" screen, select the {12 Data Display} and press the [YES] key.
5. Using the scroll key, scroll the display screen up or down until the desired data is shown. See: Scan Tool Testing and Procedures
Function Setting (Customize)
Function Setting (Customize)
OPERATION
WITH SUBARU SELECT MONITOR
For detailed procedures of function setting (ECM customizing), refer to "SUBARU SELECT MONITOR". See: Scan Tool Testing and Procedures
Subaru Select Monitor
Subaru Select Monitor
OPERATION
1. READ DIAGNOSTIC TROUBLE CODE (DTC)
NOTE:
-
DTC is displayed in the sequence of inputting. (When inputting more than two simultaneously, DTC is displayed in the sequence of priority.)
-
When more than two DTCs are displayed, perform the diagnosis of top of them.
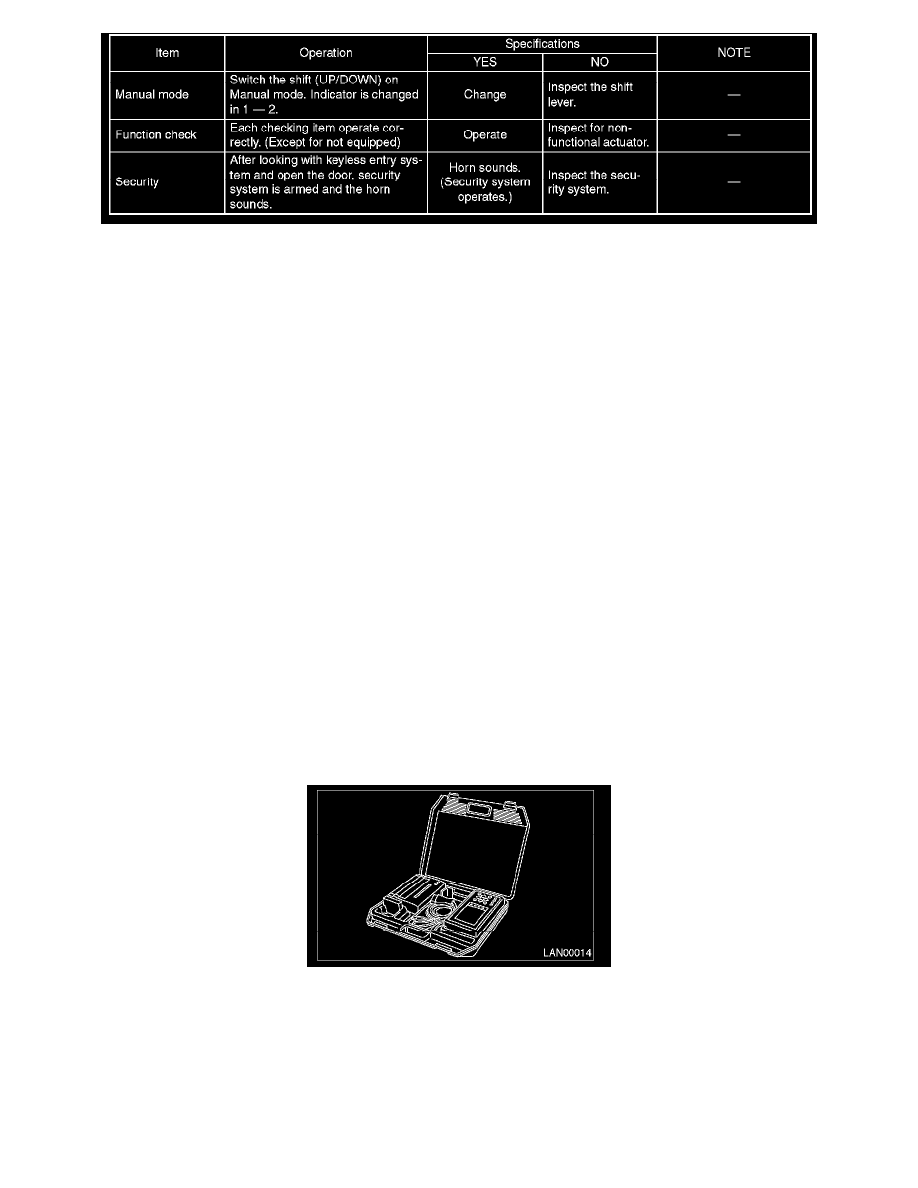
1. Prepare the Subaru Select Monitor kit.
2. Connect the diagnosis cable to Subaru Select Monitor.
