
Legacy F4-2.5L DOHC Turbo (2005)
Torque Converter: Service and Repair
Torque Converter Assembly
REMOVAL
1. Remove the transmission assembly from vehicle.
2. Pull out the torque converter and oil pump shaft horizontally.
NOTE:
^
Be sure not to scratch the inside of bush in oil pump shaft.
^
Be careful that the oil pump shaft may drawn out simultaneously.
3. Remove the oil pump shaft from torque converter as necessary.
INSTALLATION
1. When the oil pump shaft is removed, install the shaft to torque converter.
NOTE: Make sure the clip is firmly inserted.
2. Install the oil pump shaft to torque converter, and then make sure that the clip is secured on groove.
3. Apply ATF to the revolution and sliding surface oil pump shaft.
4. Holding the torque converter assembly by hand, lightly rotate the torque converter assembly to engage the oil pump rotor.
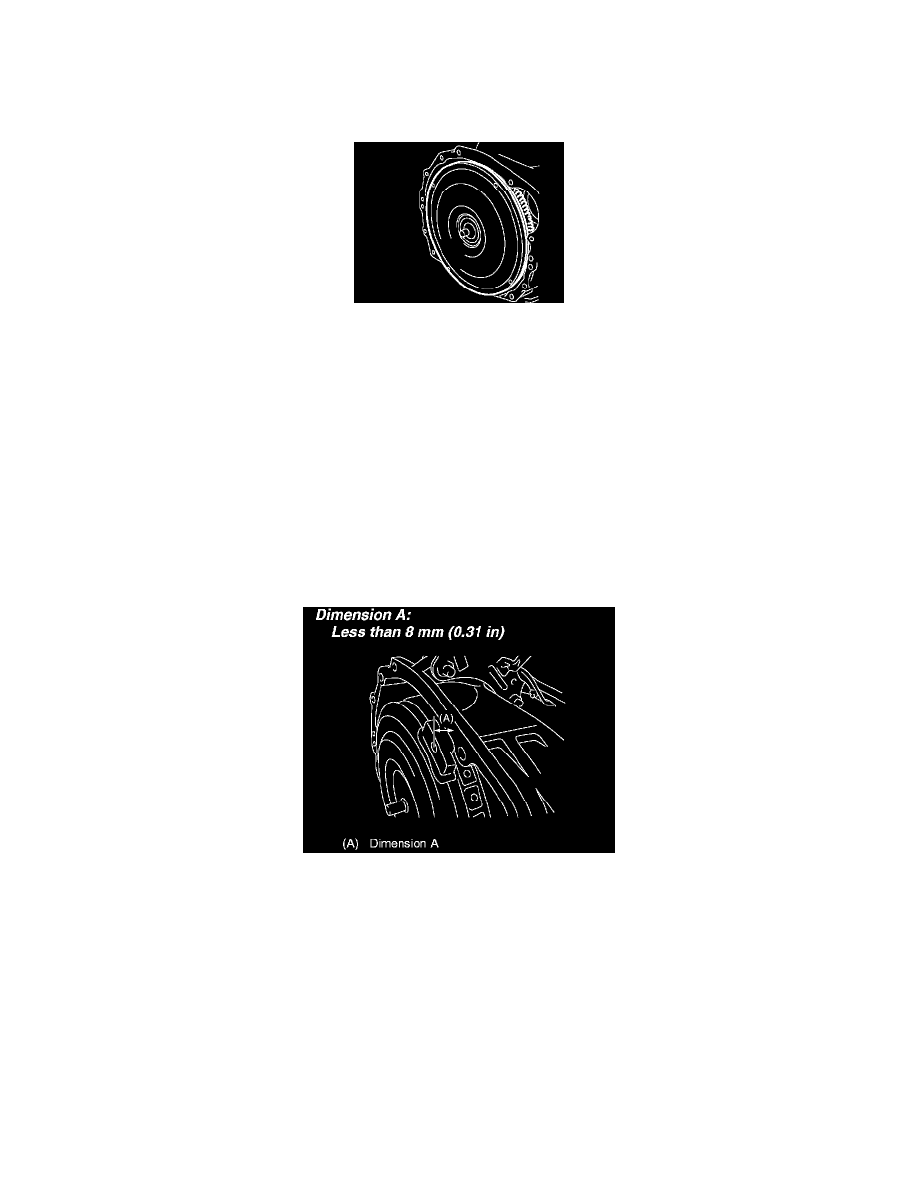
5. Check the protruding dimension of the torque converter assembly.
Dimension A: Less than 8 mm (0.31 inch)
6. Install the transmission assembly into the vehicle.
INSPECTION
Make sure the ring gear and protrusion of torque converter end are not deformed or damaged.