Legacy F4-2.5L SOHC (2003)

Stabilizer Bar: Service and Repair
Rear
Rear Stabilizer
REMOVAL
1. Jack-up the rear part of the vehicle, support it with safety stands (rigid racks).
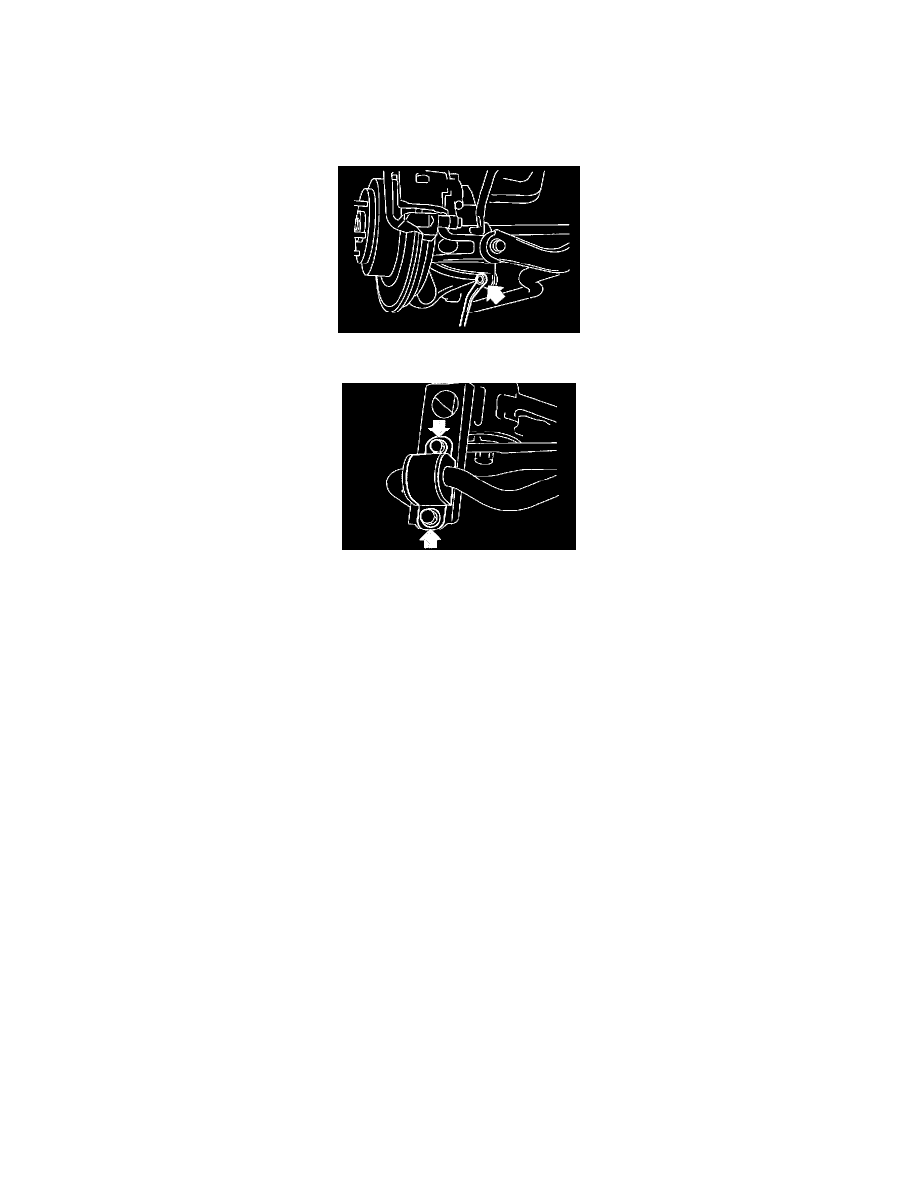
2. Remove bolts which secure stabilizer link to rear arm.
3. Remove bolts which secure stabilizer to sub frame.
INSTALLATION
Install in the reverse order of removal.
NOTE: Ensure that bushing and stabilizer have the same identification colors when installing.
CAUTION: Discard old self-locking nut and replace with a new one.
Tightening torque:
Stabilizer link to rear arm
44 Nm (4.5 kgf-m, 32.5 ft. lbs.)
Clamp to sub frame
40 Nm (4.1 kgf-m, 30 ft. lbs.)
INSPECTION
1. Check bushing for cracks, fatigue or damage.
2. Check stabilizer links for deformities, cracks, or damage, and bushing for protrusions from the hole of stabilizer link.
