
Legacy F6-3.0L (2005)
CAUTION: Do not hammer drive shaft when installing it.
4. Tighten the axle nut temporarily.
5. Using the ST, install the front drive shaft to transmission.
ST 28399SA010 OIL SEAL PROTECTOR
6. Connect the front arm ball joint to housing.
Tightening torque: 50 Nm (5.1 kgf-cm, 36.9 ft. lbs.)
7. Install the stabilizer link.
Tightening torque: 45 Nm (4.6 kgf-cm, 33.2 ft. lbs.)
CAUTION: Be sure to use a new self-locking nut.
8. While depressing the brake pedal, tighten a new axle nut (olive color) to the specified torque and lock it securely.
Tightening torque: 220 Nm (22.4 kgf-cm, 162 ft. lbs.)
CAUTION:
^
Install the wheel after installation of the axle nut. Failure to follow this rule may damage the wheel bearing.
^
Be sure to tighten axle nut to specified torque. Do not overtighten it as this may damage wheel bearing.
9. After tightening axle nut, lock it securely.
Rear Drive Shaft Installation
Rear Drive Shaft
INSTALLATION
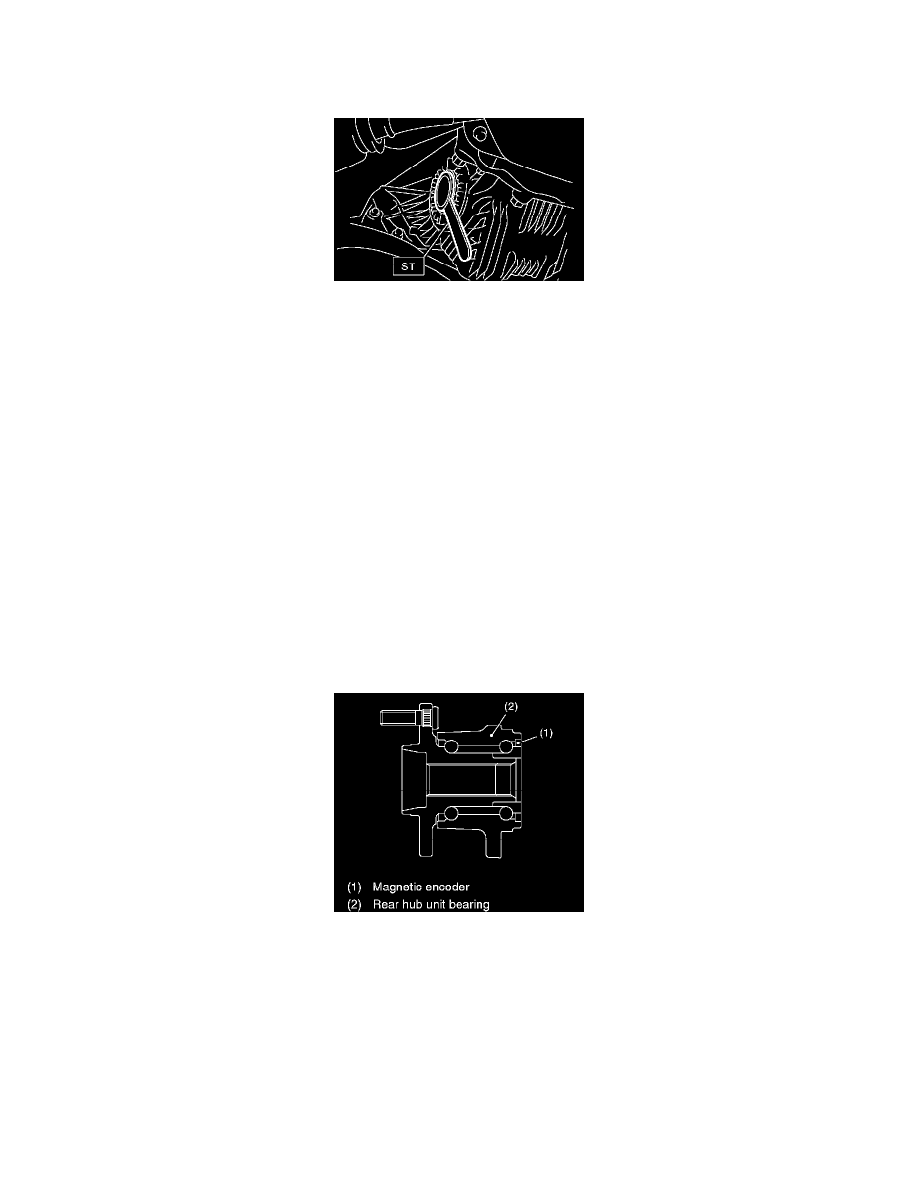
1. Insert the BJ or EBJ into rear hub splines.
CAUTION:
^
Be careful not to damage the magnetic encoder.
^
Do not get closer the tool which charged magnetism to magnetic encoder.
2. Draw the rear drive shaft into specified position.
CAUTION: Do not hammer drive shaft when installing it.
3. Tighten the axle nut temporarily.
4. Install the rear differential assembly.
5. While applying the parking brake and depressing the brake pedal, tighten a new axle nut (olive color) to specified torque and lock it securely.