
Legacy GT LTD Sedan AWD F4-2.5L DOHC (1998)
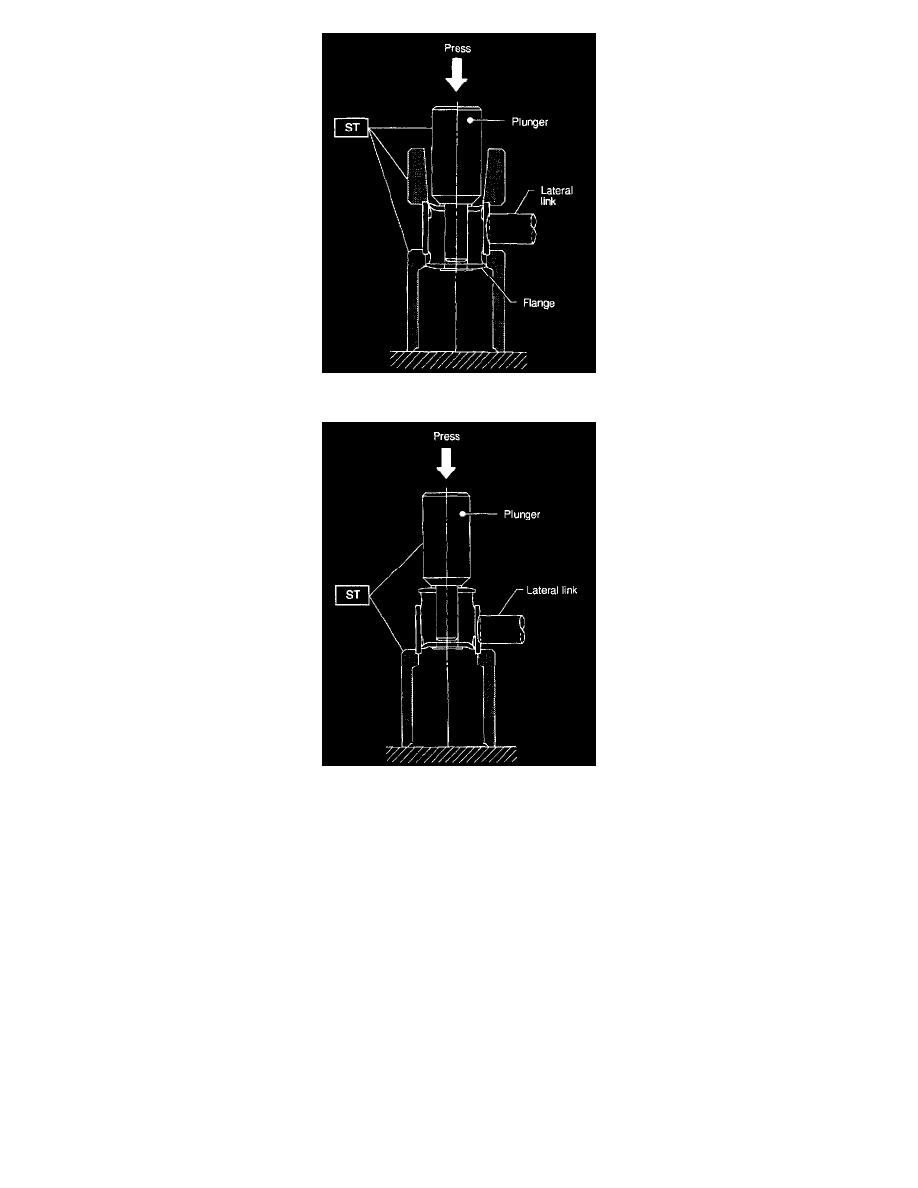
2. Press ST plunger until bushing flange protrudes beyond lateral link. NOTE: Use the same ST as that used during disassembly.
3. Turn lateral link upside down. Press ST plunger in the opposite direction that outlined in step 2 until bushing is correctly positioned in trailing link
.
NOTE: Use the same ST as that used during disassembly.
E: INSTALLATION
To install, reverse removal procedures, reading the following instructions.
CAUTION:
^
Always tighten rubber bushing when wheels are in full contact with the ground and vehicle is at curb weight condition.
^
Tighten nut when installing adjusting bolt.
^
Replace self-locking nut and circlip with new ones.
NOTE:
^
Lateral link washers can be identified by Gold.
^
Check wheel alignment and adjust if necessary.