
Legacy GT LTD Sedan AWD F4-2.5L SOHC (2001)
2. Fit one end of vinyl tube into the air bleeder and put the other end into a brake fluid container.
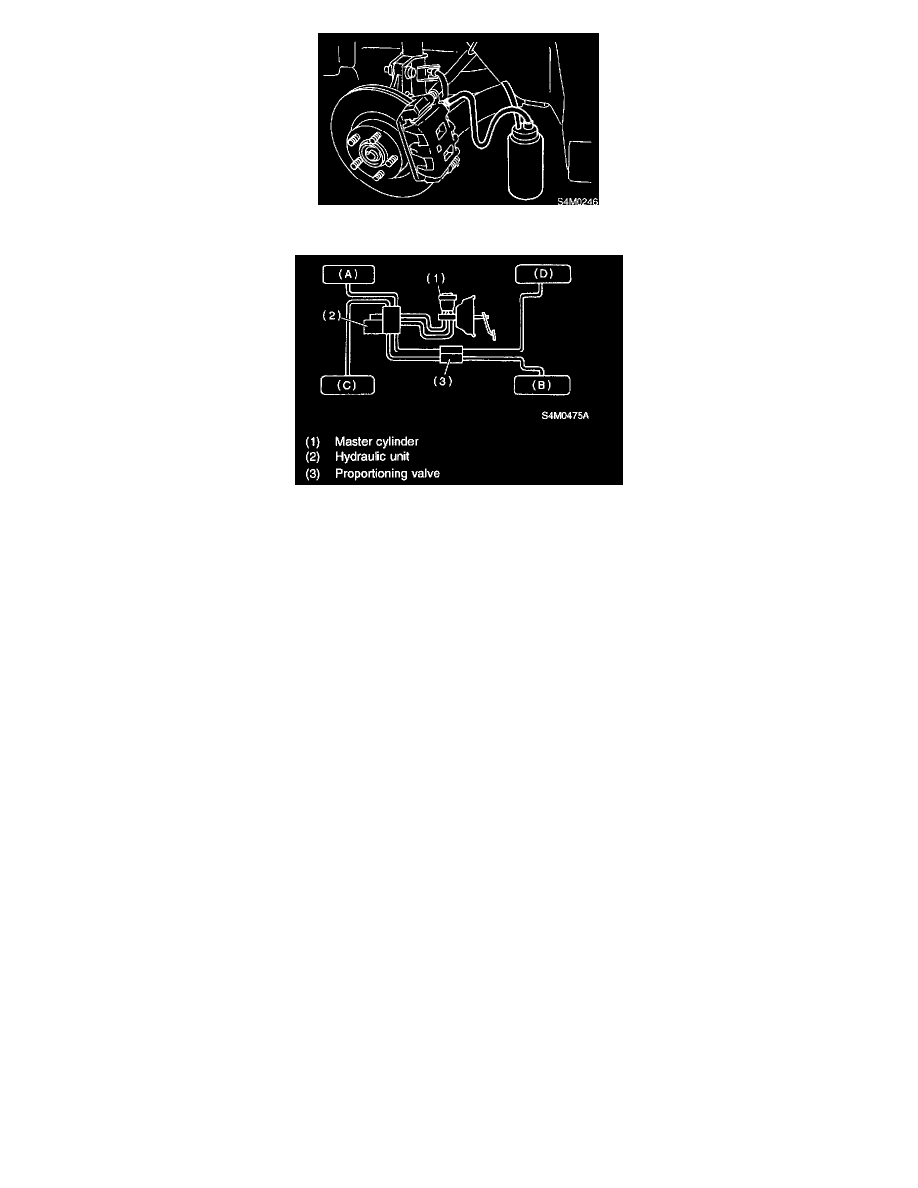
CAUTION: Brake fluid replacement sequence; (A) Front right -> (B) Rear left -> (C) Front left -> (D) Rear right
3. Slowly depress the brake pedal and keep it depressed. Then, open the air bleeder to discharge air together with the fluid. Release air bleeder for 1
to 2 seconds. Next, with the bleeder closed, slowly release the brake pedal.
Repeat these steps until there are no more air bubbles in the vinyl tube. Allow 3 to 4 seconds between two brake pedal operations.
CAUTION: Cover bleeder with waste cloth, when loosening it, to prevent brake fluid from being splashed over surrounding parts.
NOTE: Brake pedal operating must be very slow.
4. Tighten air bleeder securely when no air bubbles are visible.
Air bleeder tightening torque:
8 Nm (0.8 kgf-m, 5.8 ft. lbs.)
5. Perform these steps for the brakes connecting to the secondary chamber of master cylinder, first, and then for the ones connecting to primary
chamber. With all procedures completed, fully depress the brake pedal and keep it in that position for approximately 20 seconds to make sure that
there is no leak evident in the entire system.
6. Check the pedal stroke.