
Outback F4-2.5L (2008)
Vacuum Brake Booster: Service and Repair
Brake Booster
REMOVAL
1) Remove or disconnect the following parts in the engine compartment.
1) Disconnect the connector of brake fluid level gauge.
2) Remove the brake pipe from the master cylinder.
3) Remove the master cylinder installation nut.
4) Disconnect the vacuum hose from brake booster.
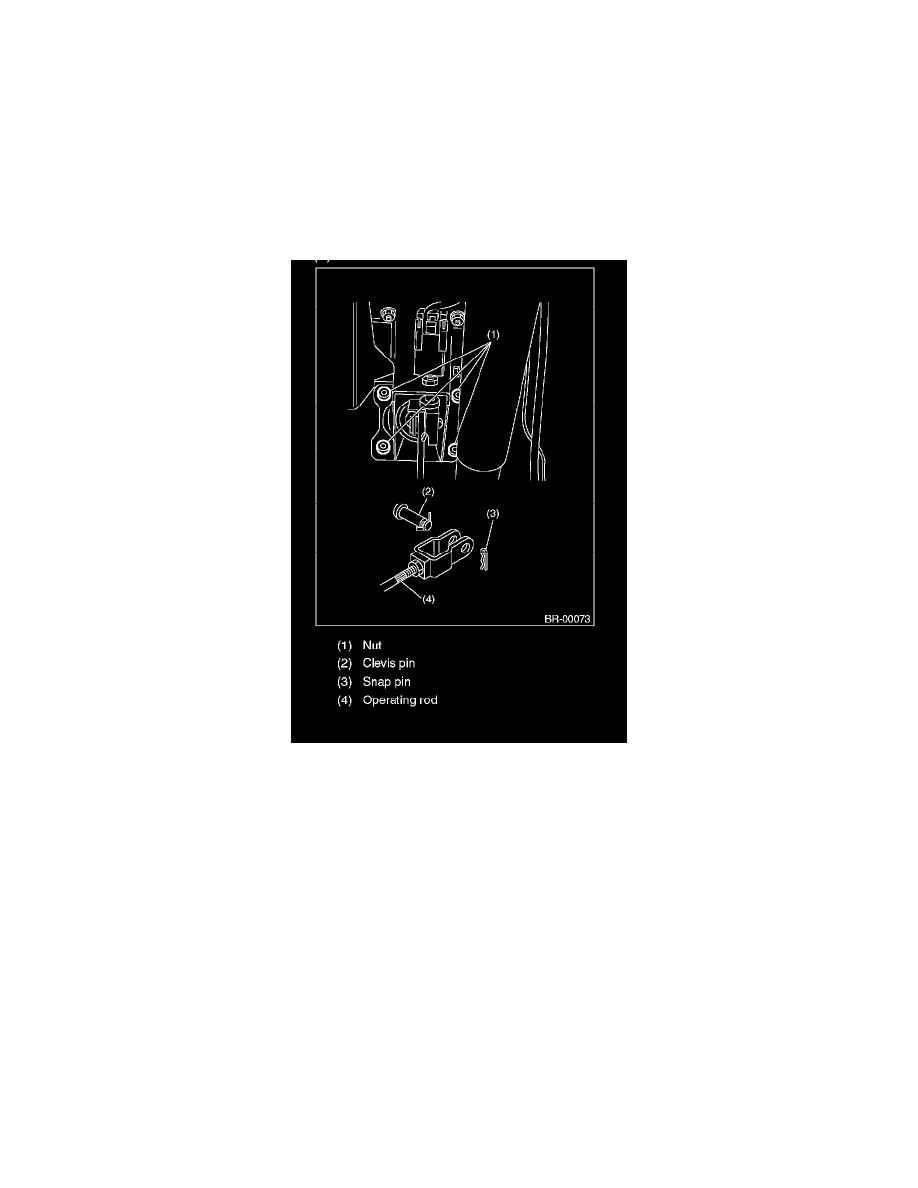
2) Remove the following parts from the pedal bracket.
1) Snap pin and clevis pin
2) Four brake booster installation nuts
3) Remove the brake booster while avoiding the brake pipe.
NOTE:
^
Make sure that the booster shell and vacuum pipe are not subject to strong impacts.
^
Be careful not to drop the brake booster. If the booster is dropped, replace it.
^
Use special care when handling the operating rod. If excessive force is applied to the operating rod, the angle may change by ±30, and it may
result in damage to power piston cylinder.
^
Be careful when placing the brake booster on floor.
^
Do not change the push rod length.
CAUTION:
^
Do not disassemble the brake booster.
^
If external force is applied from above when brake booster is placed in this position, the resin portion as indicated by "P" may become
damaged.