
Outback F4-2.5L SOHC (2005)
1
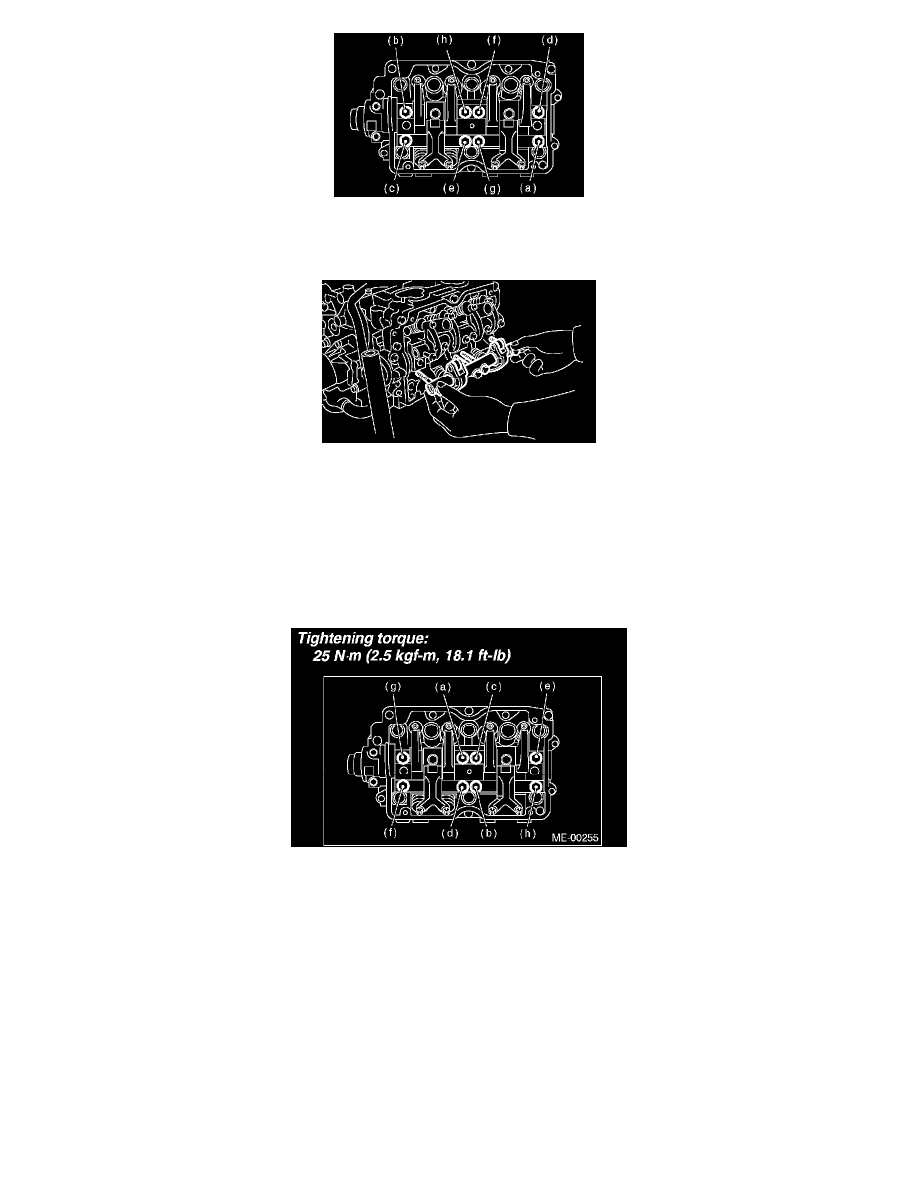
Remove the bolts (a) through (h) in alphabetical sequence.
NOTE: Leave two or three threads of bolts (g) and (h) engaged in order to retain the valve rocker assembly.
2
Remove the valve rocker assembly.
INSTALLATION
1. Install the valve rocker assembly.
1
Temporarily tighten the bolts (a) through (d) equally in order as shown in the figure.
NOTE: Do not allow the valve rocker assembly to damage knock pins.
2
Tighten the bolts (e) through (h) to specified torque.
3
Tighten the bolts (a) through (d) to specified torque.
2. Adjust the valve clearance.
3. Install the rocker cover and rocker cover gasket, and then connect PCV hose.
NOTE: Use a new rocker cover gasket.
4. Install the cam sprocket.
5. Install the timing belt.
6. Install the timing belt cover.
7. Install the crank pulley.
8. Install the V-belts.
DISASSEMBLY
1. Remove the bolts which secure the rocker shaft.
2. Extract the rocker shaft. Remove the valve rocker arms, springs and shaft supports from rocker shaft.