
Outback F6-3.0L (2003)
Brake Master Cylinder: Service and Repair
Master Cylinder
REMOVAL
1. Thoroughly drain brake fluid from reservoir tank.
2. Disconnect fluid level indicator harness connector.
3. Remove brake pipes from master cylinder.
4. Remove master cylinder mounting nuts, and take out master cylinder from brake booster.
CAUTION: Be extremely careful not to spill brake fluid. Brake fluid spilt on the vehicle body will harm the painted surface; wash it off quickly if
spilt.
INSTALLATION
To install the master cylinder to the body, reverse the sequence of removal procedure.
Tightening torque:
Master cylinder mounting nut 14 Nm (1.4 kgf-cm, 10.1 ft. lbs.)
Piping flare nut 15 Nm (1.5 kgf-cm, 10.8 ft. lbs.)
CAUTION: Be sure to use recommended brake fluid.
DISASSEMBLY
PRECAUTIONS FOR DISASSEMBLING
1. Remove mud and dirt from the surface of brake master cylinder.
2. Prepare tools necessary for disassembly operation, and arrange them neatly on work bench.
3. Clean work bench.
DISASSEMBLING PROCEDURE
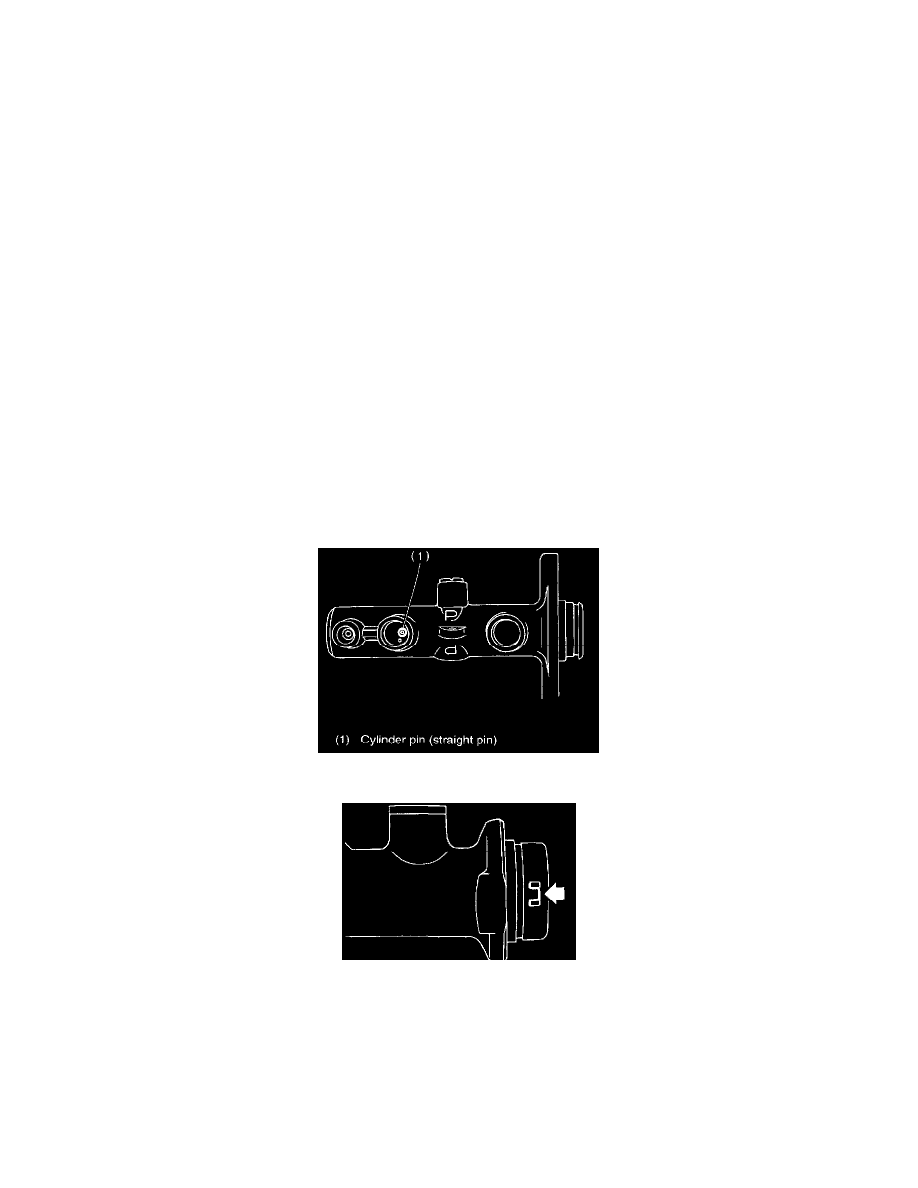
1. Remove pin with drift pin which secures reserve tank to master cylinder.
2. Remove cylinder pin with magnetic pick-up tool while pushing in primary piston.
3. Pry up the pawl and remove the piston retainer. (Without VDC)
NOTE: Piston may jump out from master cylinder.