
Outback L.L.Bean Edition AWD F6-3.0L (2002)
1. If leak point is other than a, b, c, or d, perform the 5th step in "Oil leak check procedure and replacement parts" before dismounting gearbox from
vehicle. If gearbox is dismounted without confirming where the leak is, it must be mounted again to locate the leak point.
2. Even if the location of the leak can be easily found by observing the leaking condition, it is necessary to thoroughly remove the oil from the
suspected portion and turn the steering wheel from lock to lock about 30 to 40 times with engine running, then make comparison of the suspected
portion between immediately after and several hours after this operation.
3. Before starting oil leak repair work, be sure to clean the gearbox, hoses, pipes, and surrounding parts. After completing repair work, clean these
areas again.
Oil leak check procedure and replacement parts
NOTE: Parts requiring replacement are described in the smallest unit of spare parts including damaged parts and spare parts damaged. In actual
disassembly work, accidental damage as well as inevitable damage to some related parts must be taken into account, and spare parts for them must
also be prepared. However, it is essential to pinpoint the cause of trouble, and limit the number of replacement parts as much as possible.
1. Leakage from "a"
The oil seal is damaged. Replace valve assembly with a new one.
2. Leakage from "b"
The torsion bar O-ring is damaged. Replace valve assembly with a new one.
3. Leakage from "c"
The oil seal is damaged. Replace valve assembly or oil seal with a new one.
4. Leakage from "d"
The pipe is damaged. Replace the faulty pipe or O-ring.
5. If leak is other than a, b, c, or d, and if oil is leaking from the gearbox, move the right and left boots toward tie-rod end side, respectively, with the
gearbox mounted to the vehicle, and remove oil from the surrounding portions. Then, turn the steering wheel from lock to lock 30 to 40 times with
the engine running, then make comparison of the leaked portion immediately after and several hours after this operation.
1. Leakage from "e"
The cylinder seal is damaged. Replace rack bushing with a new one.
2. Leakage from "f"
There are two possible causes. Take following step first. Remove the pipe assembly B from the valve housing, and close the circuit with ST.
ST 926420000 PLUG
Turn the steering wheel from lock to lock 30 to 40 times with the engine running, then make comparison of the leaked portion between
immediately after and several hours after this operation.
CAUTION:
^
If leakage from "f" is noted again:
The oil seal of pinion and valve assembly is damaged. Replace pinion and valve assembly with a new one. Or replace the oil seal and the
parts that are damaged during disassembly with new ones.
^
If oil stops leaking from "f":
The oil seal of rack housing is damaged. Replace the oil seal and the parts that are damaged during disassembly with new ones.
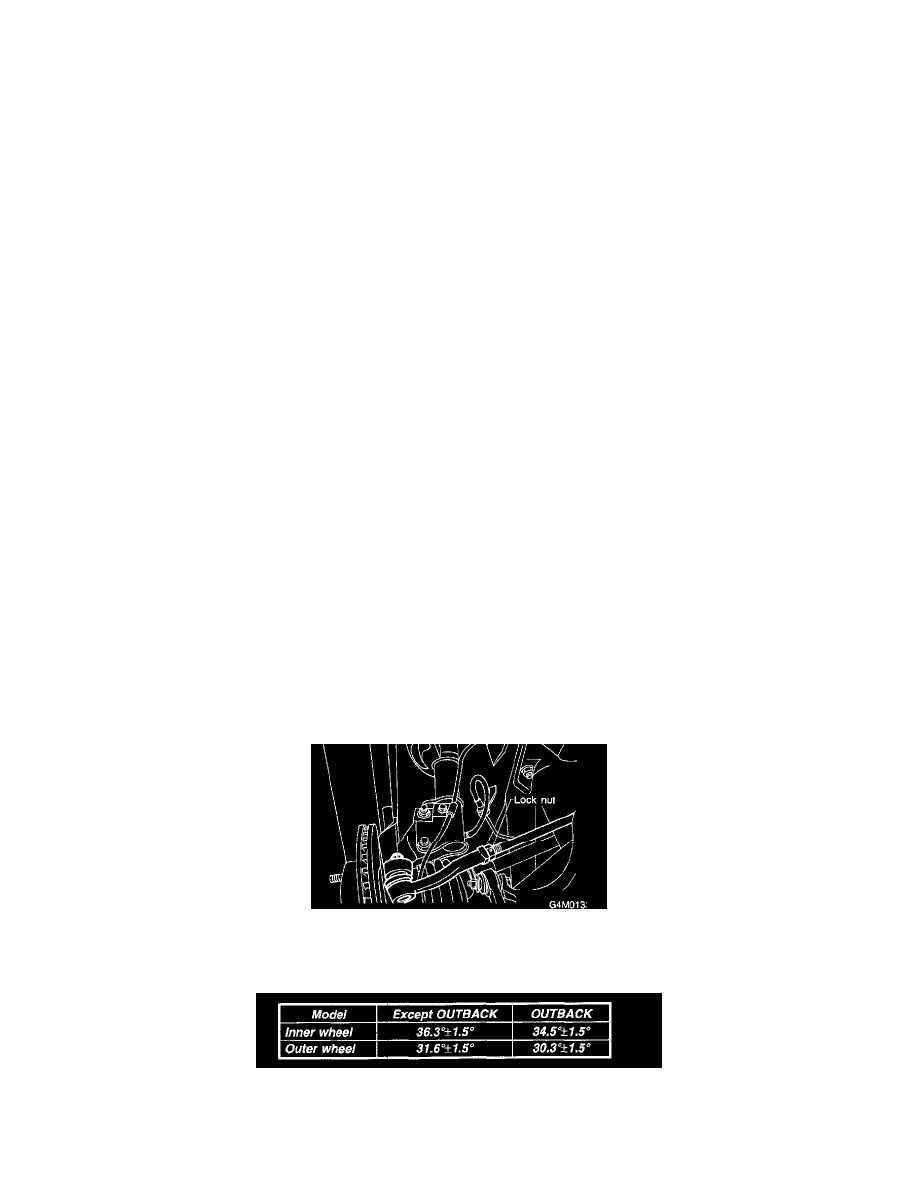
F: ADJUSTMENT
1. Adjust front toe.
Standard of front toe: IN 3 - OUT 3 mm (IN 0.12 - OUT 0.12 inch)
2. Adjust steering angle of wheels.
Standard of steering angle: