
Outback L.L.Bean Edition AWD F6-3.0L (2002)
6. Remove bolt securing link rear to rear arm.
7. Scribe an alignment mark on link rear adjusting bolt and sub frame.
8. Remove bolts securing link rear to sub frame, detach link rear.
CAUTION: To loosen adjusting bolt, always loosen nut while holding the head of adjusting bolt.
B: INSTALLATION
Install in the reverse order of removal, observing the following instructions.
CAUTION:
^
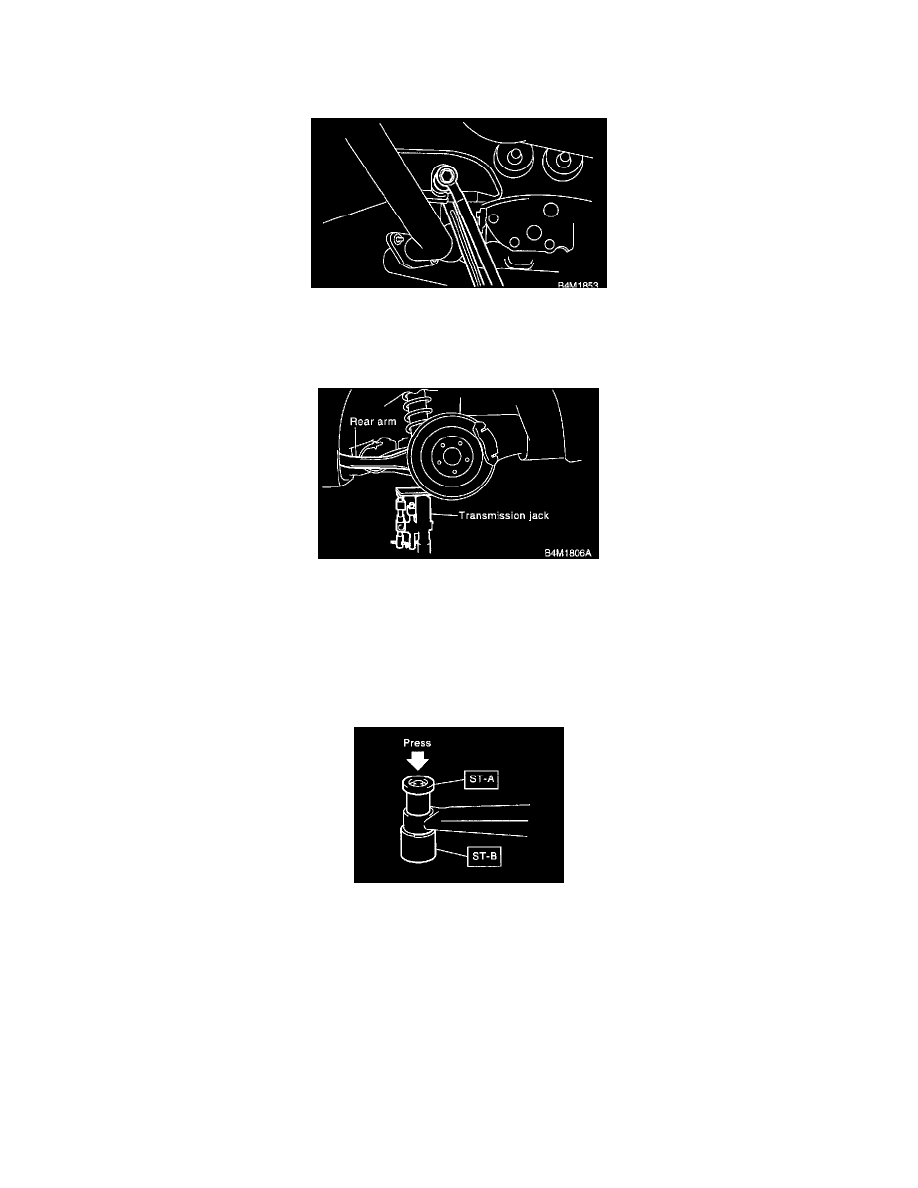
Using transmission jack, support rear arm horizontally, install link rear and tighten nuts to specified torque.
^
Tighten nut when installing adjusting bolt.
^
Replace self-locking nut.
NOTE: Check wheel alignment and adjust if necessary.
C: DISASSEMBLY
Using ST-A, B. press bushing out of place.
ST-A, B, 20099AE000 INSTALLER & REMOVER
D: ASSEMBLY