
Forenza L4-2.0L (2004)
3. Install a new O-ring on the pipe at the receiver dryer.
4. Install the liquid pipe block-to-receiver-dryer retaining nut.
Tighten: Tighten the liquid pipe block-to-receiver-dryer retaining nut to 14 Nm (10 ft. lbs.).
5. Install the headlamp housing at the right-hand side.
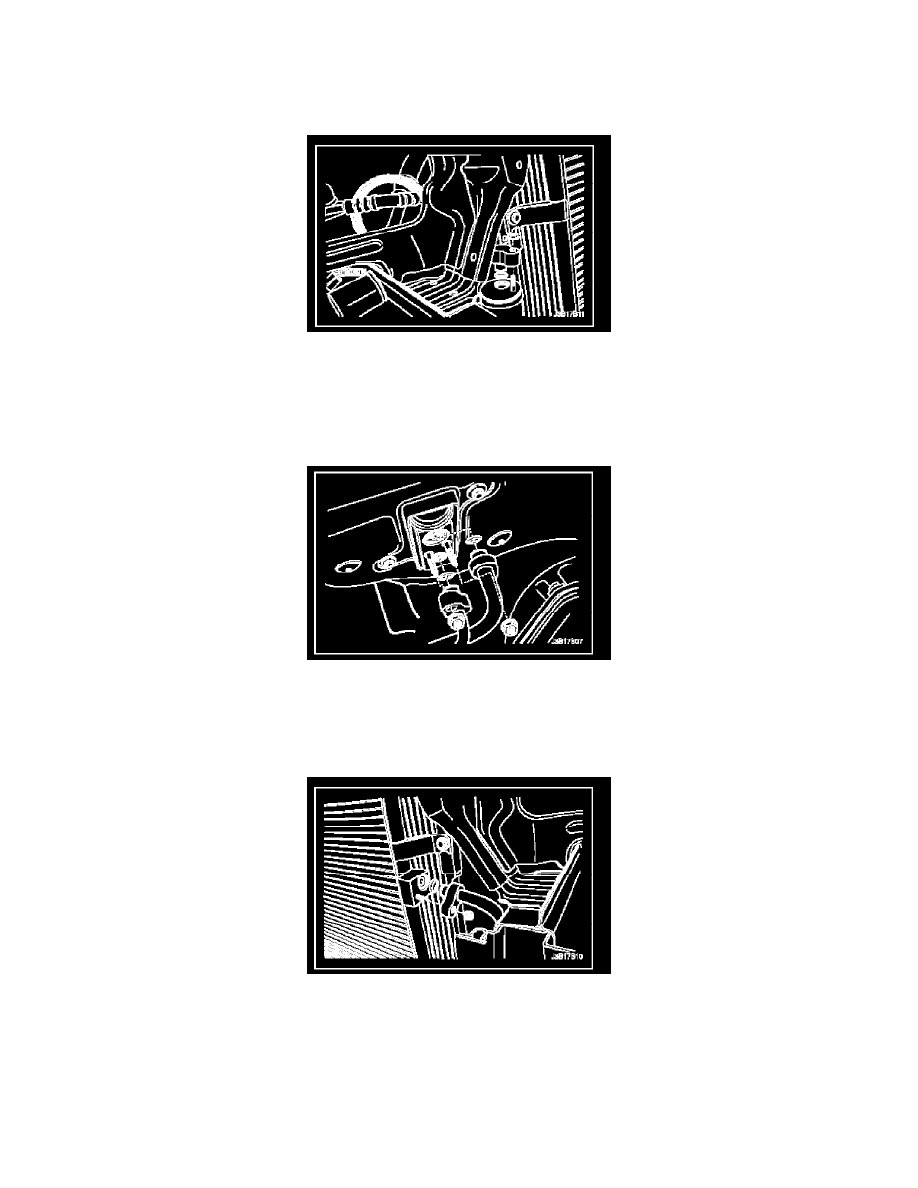
6. Install the liquid evaporator pipe block retaining nut to the fire wall.
Tighten: Tighten the liquid pipe block-to-expansion valve retaining nut to 14 Nm (10 ft. lbs.).
7. Connect the electrical connector at the pressure transducer.
8. Install the air cleaner housing bolts and the air filter housing assembly.
9. Position the refrigerant discharge hose into the vehicle.
10. Install the nut at the condenser connecting block.
Tighten: Tighten the refrigerant discharge hose block-to-condenser retaining nut to 16 Nm (12 ft. lbs.).
11. Install the headlamp housing at the left-hand side.
12. Install the nut at the discharge hose block connected to compressor.
Tighten: Tighten the refrigerant discharge hose block-to-compressor retaining nut to 33 Nm (24 ft. lbs.).
13. Connect the negative battery cable.