
Forenza L4-2.0L (2004)
39.
Install the oil pan.
Torque to 6 Nm (53 lbs-in)
40.
Reinstall the transmission assembly according to the instructions in the Forenza service manual (Transaxle Assembly Removal and Installation).
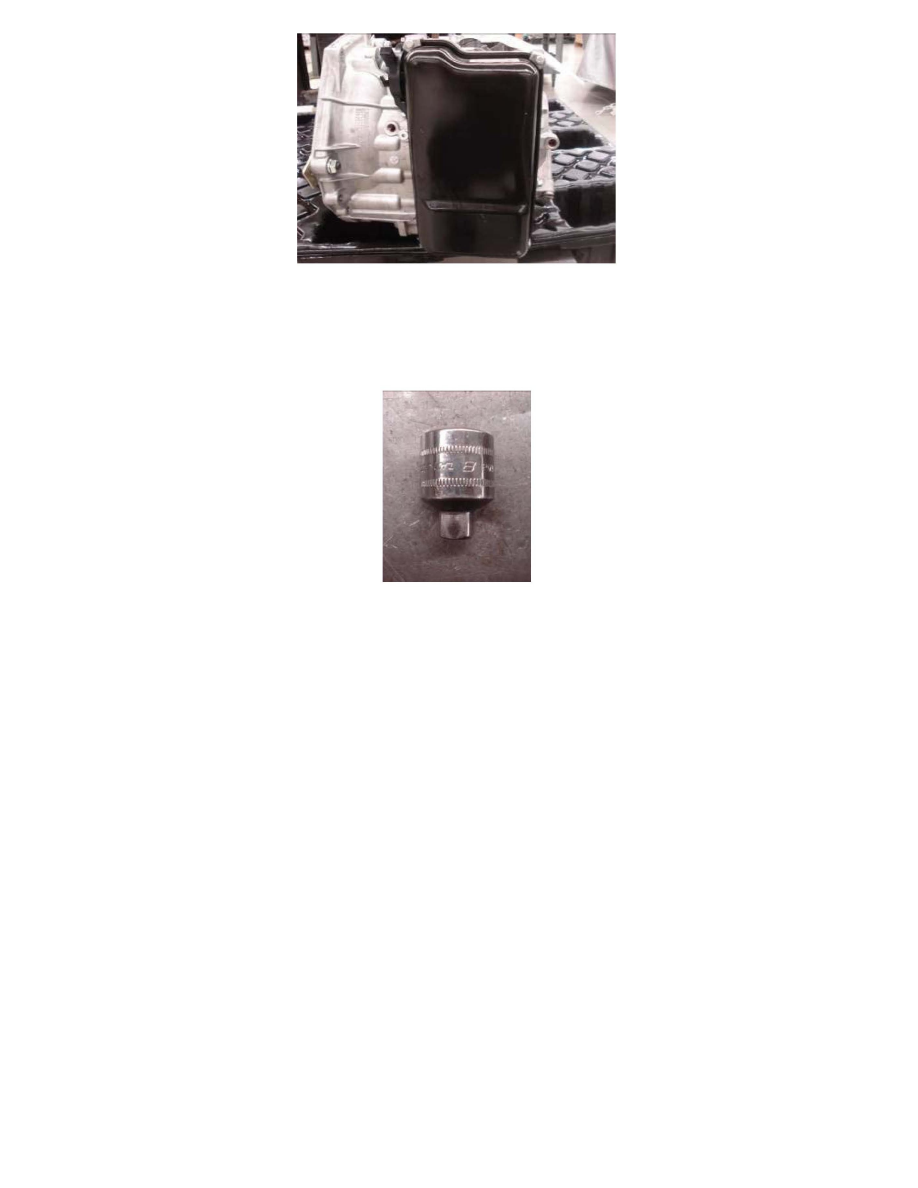
41.
After the transmission is installed, use the special tool DW260-070 (available on Suzuki Pitstop) #8 square head tool, to remove the oil filler plug.
42.
With the engine off and cold, add approximately 5 liters of Suzuki recommended transmission fluid into the transmission, until the fluid starts to
spill out of the filler hole.
43.
Leaving the filler hole open, start the engine and shift the transmission through all the gears.
44.
While the engine is running, add more transmission fluid until it starts to spill out the filler hole.
45.
Reinstall the filler plug.
46.
Perform transmission "TCM Learned Initialize" (refer to Technical Service Bulletin Forenza Transmission TS 06 Required Automatic
Transmission Control Module Initialization Procedure) and "Tooth Error Correction" procedure (refer to Technical Service Bulletin, Forenza
Engine,TS 02 Crankshaft Position Variation Learn).
47.
Test drive the vehicle for about 2 miles, varying the speed between 20 mph and 45 mph to confirm the transmission shifts properly through all the
gears ranges.