
Forenza L4-2.0L (2004)
Fluid - A/T: Service and Repair
Transaxle Fluid Level Checking Procedure
Transaxle Fluid Level Checking Procedure
Tools Required:
^
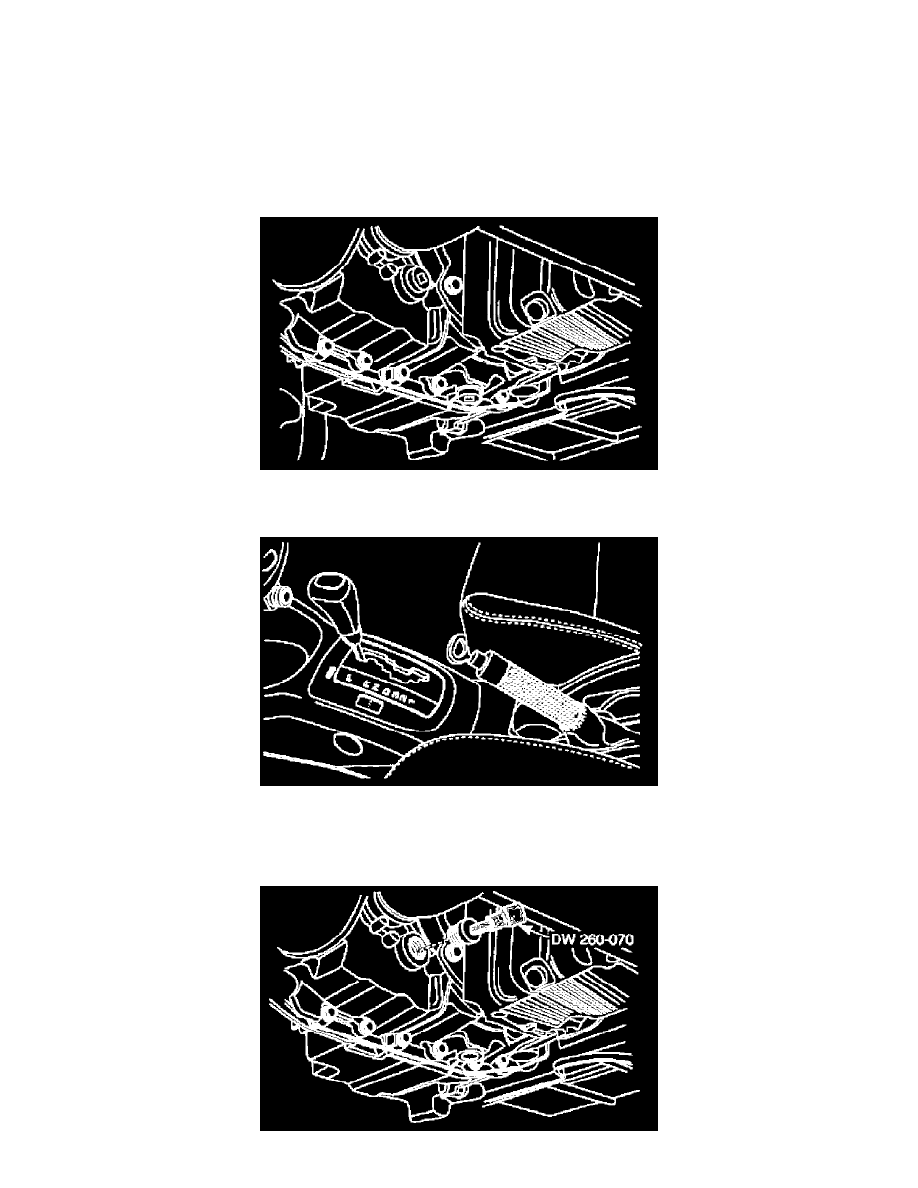
DW260-070 Transaxle Fluid Plug Remover/Installer
1. Start the engine and allow the engine to idle for approximately 5 minutes, or, if possible, drive the vehicle for a few kilometers (miles) to warm
the transaxle fluid. Check the fluid level when the transaxle is over 30°C (86°F).
2. Press the brake pedal and move the shift lever through the gear ranges, pausing a few seconds in each range. Return the shift lever to the park
position. (Left-Hand Drive Shown, Right-Hand Drive Similar.)
3. Raise and suitably support the vehicle.
4. Place a fluid container below the fluid level plug.
5. Remove the fluid level plug using the plug remover/installer DW260-070. Because the transaxle operates correctly over a range of levels, fluid
may or may not drain out of the plug hole when the plug is removed.