
Grand Vitara 2WD V6-2.7L (2006)
Steering Wheel: Service and Repair
Steering Wheel Removal and Installation
CAUTION: Removal of the steering wheel allows the contact coil cable assembly to turn freely but do not turn the contact coil cable assembly more
than allowable number of turns (about two and a half turns from the center position clockwise or counterclockwise respectively), or coil will break.
Removal
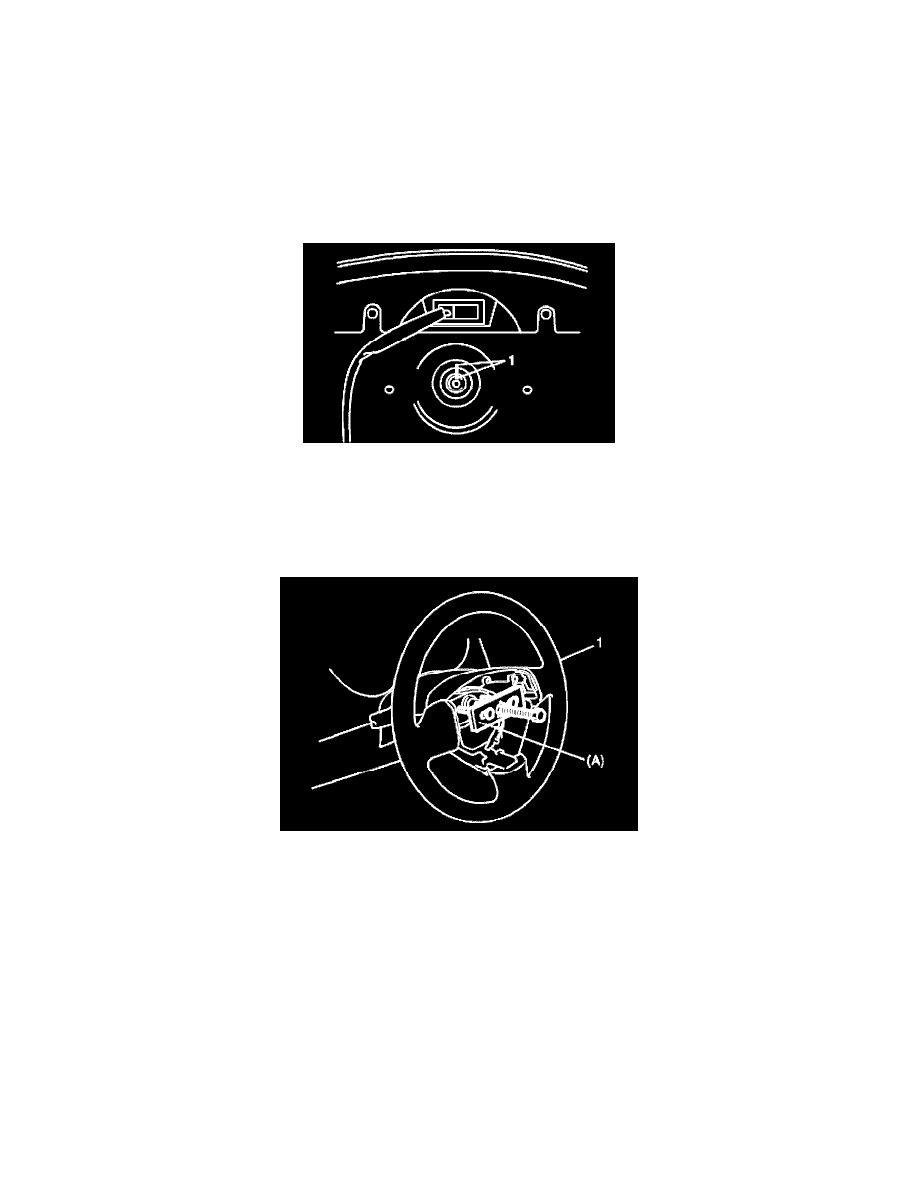
1. Remove driver air bag (inflator) module from steering wheel.
2. Disconnect horn connector and audio control switch connector, if equipped.
3. Remove steering shaft nut.
4. Make alignment marks (1) on steering wheel and shaft for a guide during reinstallation.
5. Remove steering wheel (1) with special tool.
CAUTION: Do not hammer the end of the shaft. Hammering it will loosen the plastic shear pins which maintain the column length and impair the
collapsible design of the column.
Special Tool (A): 09944-36011
Installation
1. Check that vehicle's front tires are at straight-ahead position and contact coil cable assembly is centered. Refer to Centering Contact Coil Cable
Assembly.
CAUTION: These two conditions are prerequisite for installation of steering wheel. If steering wheel has been installed without these conditions,
contact coil cable assembly will break when steering wheel is turned.
2. Install steering wheel (1) to steering shaft with 2 lugs (2) on contact coil cable assembly fitted in two grooves (3) in the back of steering wheel and
also aligning marks (4) on steering wheel and steering shaft.
3. Tighten steering shaft nut to specified torque.
Tightening torque
Steering shaft nut: 33 Nm (3.3 kg-m, 24.0 ft. lbs.)