Grand Vitara 4WD L4-2.4L (2009)

8) Remove strut assembly.
Installation
Install strut assembly by reversing removal procedure, noting the following instructions.
^
Insert bolts in such direction as shown in figure.
^
Tighten all fasteners to specified torque.
Tightening torque
Strut bracket nut (a): 135 Nm (13.5 kg-m, 98.0 lbf-ft)
Brake hose mounting bolt (c): 25 Nm (2.5 kg-m, 18.0 lbf-ft)
Stabilizer joint nut (d): 60 Nm (6.0 kg-m, 43.5 lbf-ft)
Front wheel speed sensor harness clamp bolt (e): 11 Nm (1.1 kg-m, 8.5 lbf-ft)
^
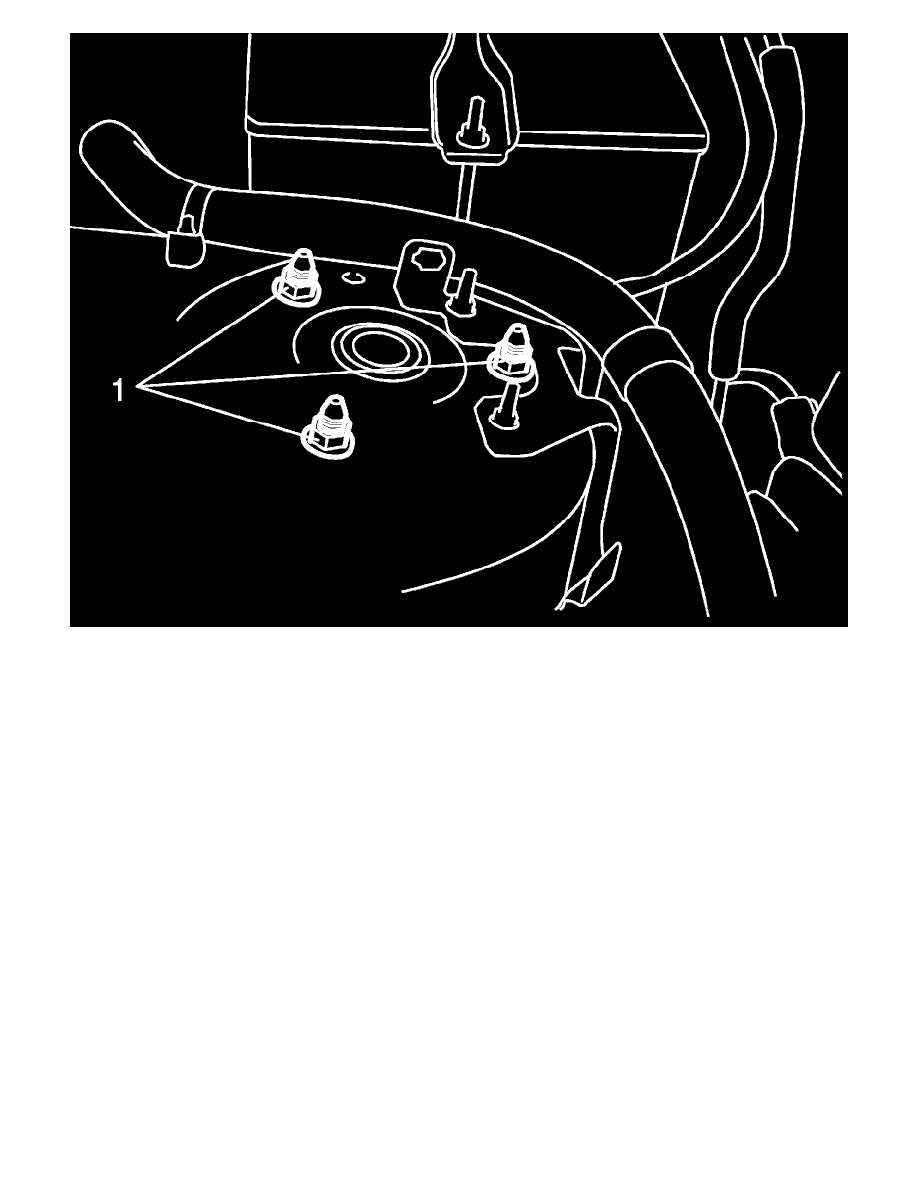
Lower hoist and vehicle in unloaded condition, tighten strut support nuts (b) to specified torque.
Tightening torque
Strut support nut (b): 50 Nm (5.0 kg-m, 36.5 lbf-ft)
CAUTION:
If strut bracket bolt and nut are reused, apply engine oil to thread, bearing and trunk surface.
NOTE:
^
Don't twist brake hose and wheel speed sensor harness when installing them.
^
Insert strut bracket bolt from vehicle forward.
