Grand Vitara JLS Plus 2WD V6-2.5L (2000)

Tightening Torque (a): 23 Nm (2.3 kg-m, 17.0 ft. lbs.)
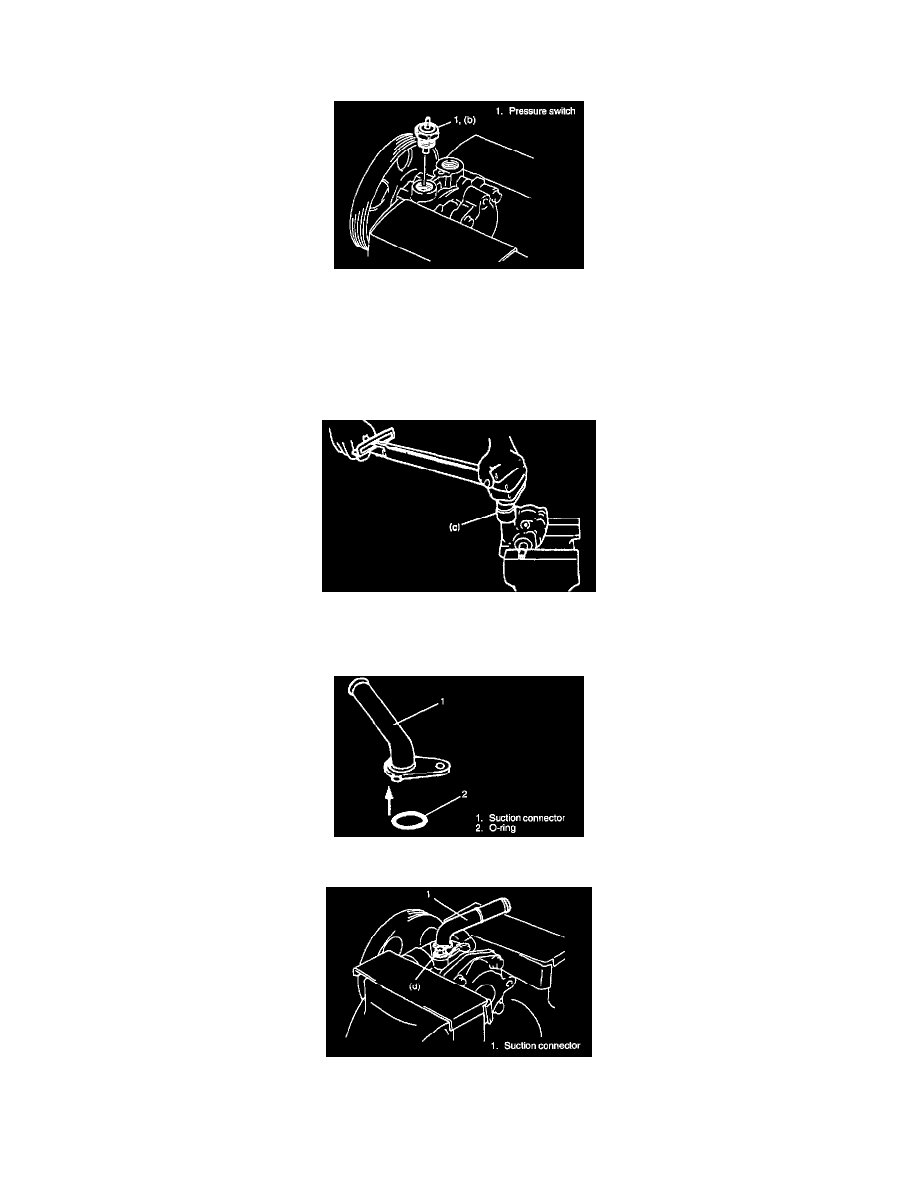
16. Apply power steering fluid to O-ring of pressure switch.
17. Install pressure switch to pump body.
Tightening Torque (b): 28 Nm (2.8 kg-m, 20.0 ft. lbs.)
18. Apply power steering fluid to relief valve (flow control valve).
19. Install relief valve (flow control valve) to pump body.
20. Install flow control spring.
21. Apply power steering fluid to O-rings of plug.
22. Install O-rings to plug.
23. Tighten plug to specified torque.
Tightening Torque (c): 60 Nm (6.0 kg-m, 43.5 ft. lbs.)
24. Apply power steering fluid to O-ring of suction connector.
25. Install O-ring to suction connector.
26. Install suction connector to pump body as shown in figure. Tighten suction connector bolts to specified torque.
Tightening Torque (d): 10 Nm (1.0 kg-m, 7.5 ft. lbs.)
INSTALLATION
