
Kizashi AWD L4-2.4L (2010)
4) Install lower arm to suspension knuckle and tighten new lower arm nut to specified torque.
CAUTION:
Lower arm nut is pre-coated with friction stabilizer. Never reuse nut. Otherwise, nut may loosen.
Tightening torque
Lower arm nut: 75 Nm (7.6 kg-m, 55.5 lbf-ft)
5) Install rear shock absorber and coil spring.
6) Install rear wheels and lower hoist.
7) Push vehicle to bounce it up and down several times to stabilize suspension.
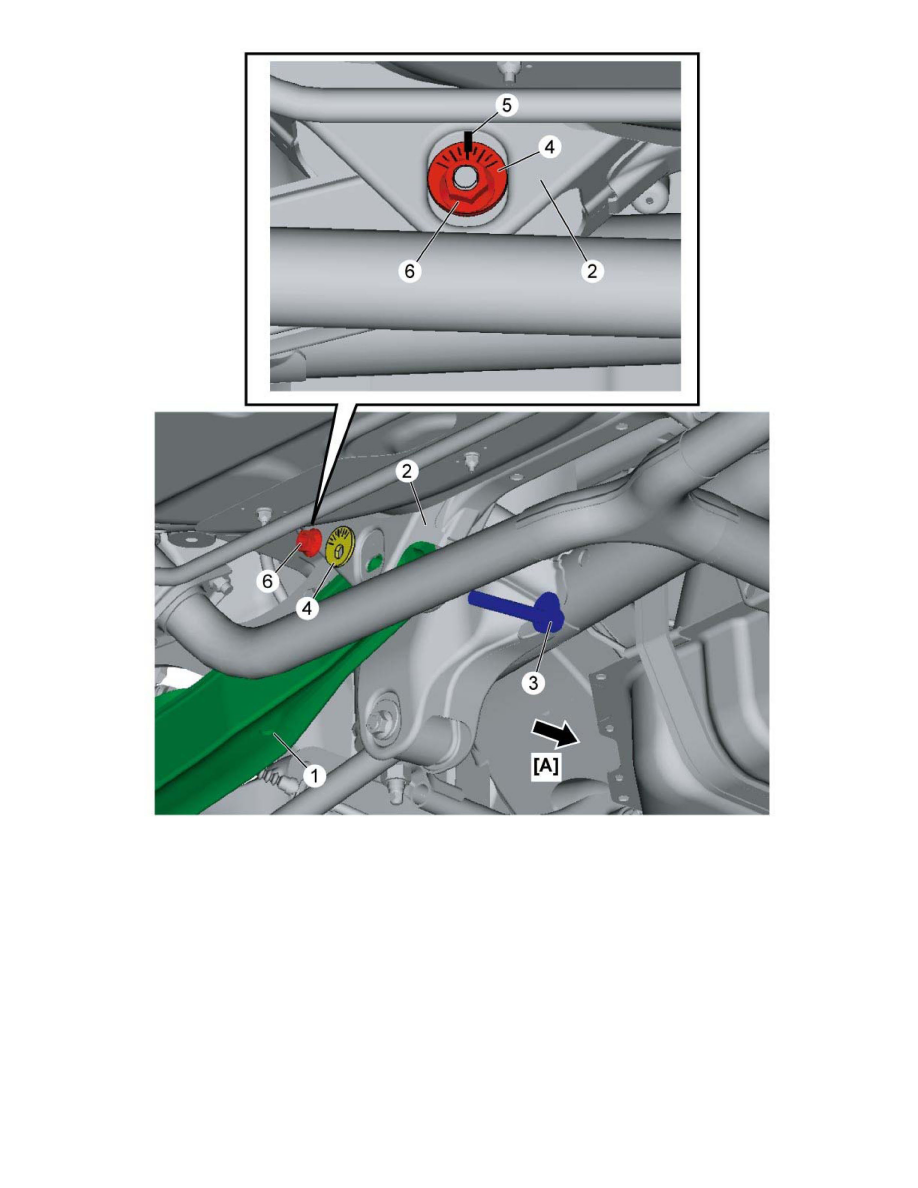
8) Tighten lower arm lock nut to specified torque.
CAUTION:
^
Tighten lower arm lock nut only after making sure that vehicle weight is off the hoist.
^
Tighten lower arm lock nut to specified torque while aligning matchmark on adjustment washer and rear suspension frame.
NOTE: