
Kizashi AWD L4-2.4L (2010)
Installation
CAUTION:
^
Be careful not to damage oil seals and boots when installing drive shaft.
^
Do not hit joint boot with hammer.
Insert joints by hand only.
^
Make sure differential side joint is inserted fully and its circlip is seated as it was.
Reverse removal procedure, noting the following points.
^
Use new differential side joint circlip.
^
Tighten rear wheel speed sensor bolt to specified torque.
^
Tighten brake caliper bolts to specified torque.
^
Tighten new drive shaft nut to specified torque, loosen it one rotation or more, and then retighten it to specified torque.
CAUTION:
Be sure to use new drive shaft nut.
Tightening torque
Drive shaft nut* (a): 250 Nm (25.5 kg-m, 184.5 lbf-ft)
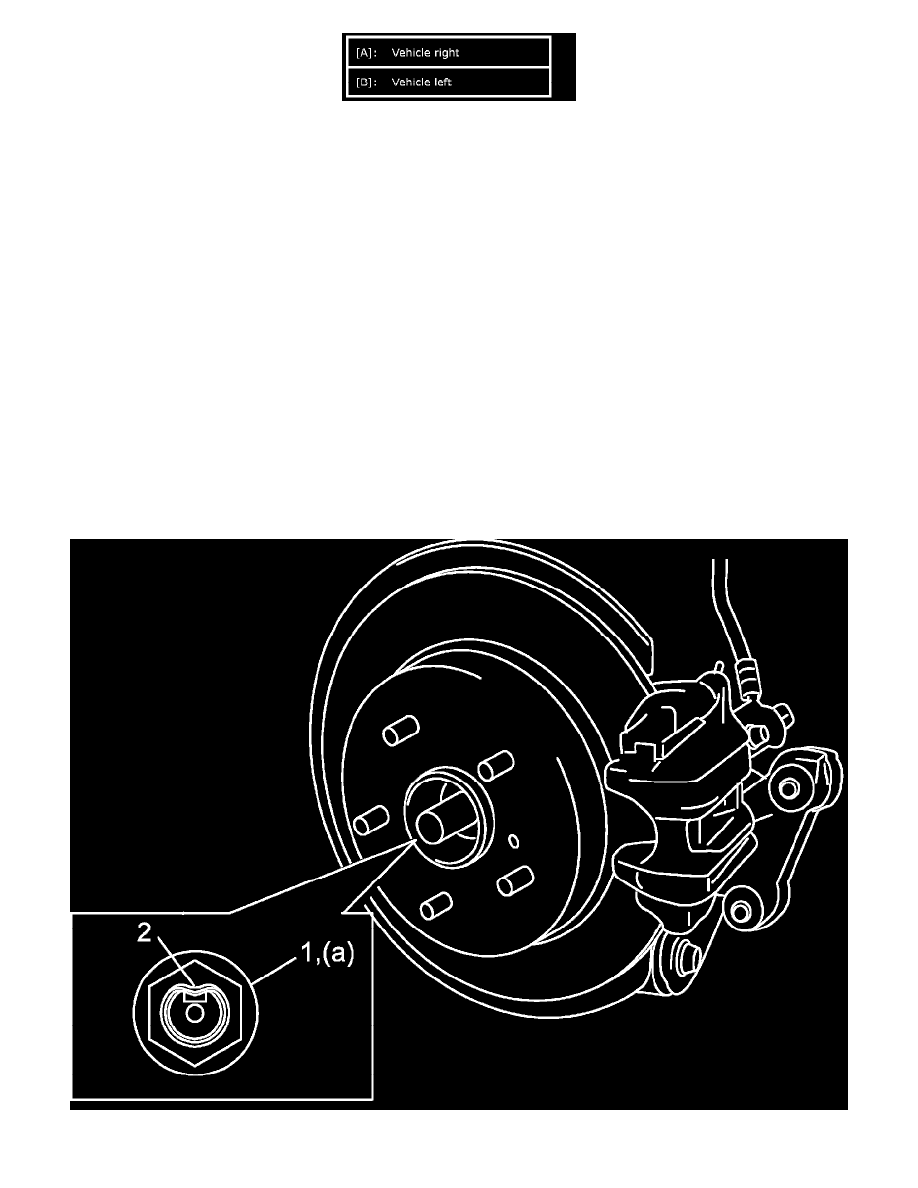
^
Caulk drive shaft nut (1) as shown.
CAUTION:
Be sure not to crack caulking part (2) of drive shaft nut while caulking it. Replace it with a new one if it cracks.
^
Fill rear differential oil.