
Sidekick 4WD L4-1590cc 1.6L SOHC 0 TBI 8V (1990)
Fuel Injector: Service and Repair
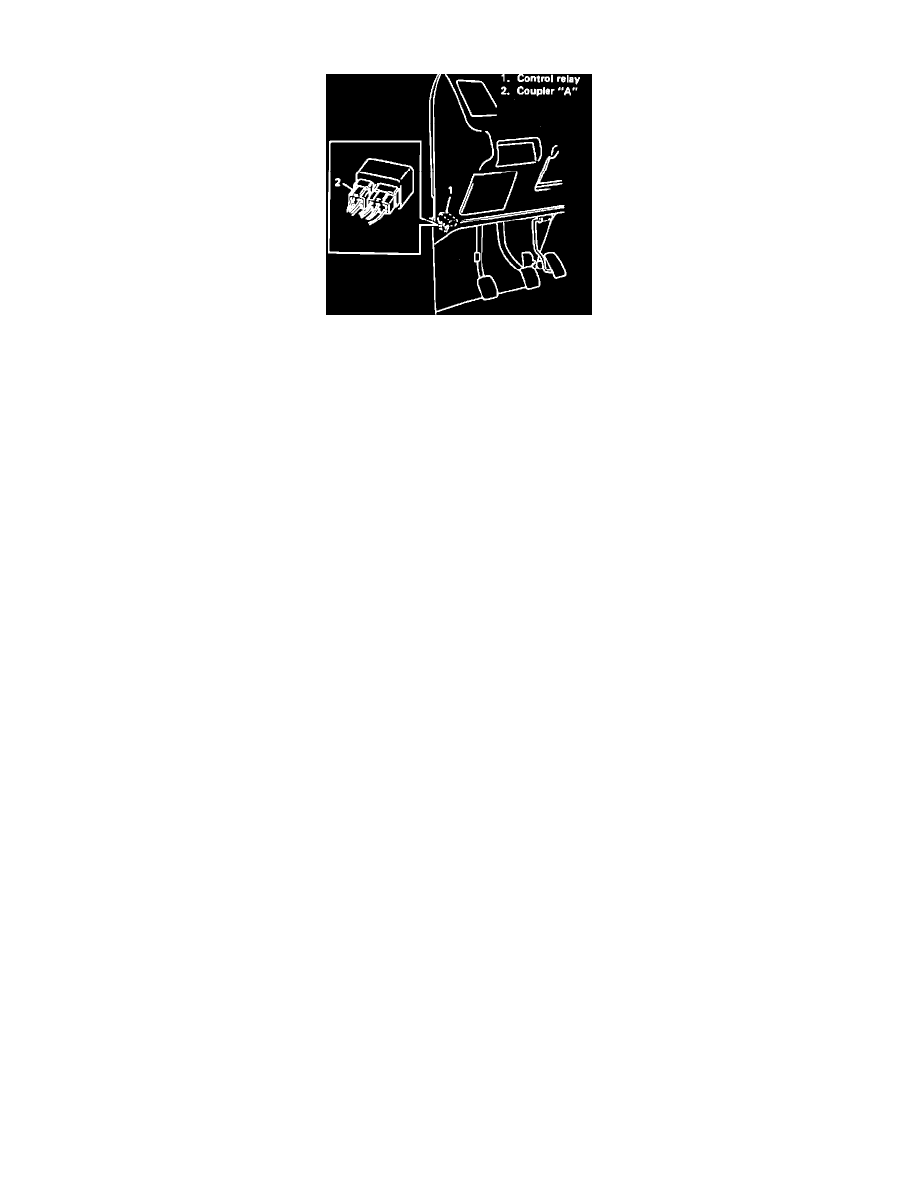
Fig. 128 Releasing Fuel Pressure
1.
Release fuel system pressure as follows:
a. Place transmission gear shift lever in Neutral, set parking brake and block drive wheels.
b. Disconnect coupler A from control relay, Fig. 128.
c. Remove fuel filler cap to release fuel tank vapor pressure, then reinstall cap.
d. Start engine and run till it stops for lack of fuel. Crank engine three times for about three seconds each time.
2.
Disconnect battery ground cable.
3.
On Swift, remove air cleaner assembly.
4.
On all models, remove fuel injector cover attaching screws, then the injector cover.
5.
Remove fuel injector wire harness from the clamp, and grommet from the throttle body.
6.
On Sidekick and Samurai, place a towel over the injector, and position a hand over the towel.
7.
To release the injector from throttle body, use a regulated air blow gun and blow about 71.1 psi of compressed air into throttle body fuel inlet port.
Be precise about pressure of compressed air. Excessively high pressure may cause personal injury or damage to injector.
8.
On Swift, open claws of injector after removing coupler cover and disconnect coupler, then remove injector.
9.
On all models, apply a suitable lubricant to fuel injector O-rings.
10.
Install fuel injector to throttle body.
11.
Install fuel injector wire harness grommet to throttle body.
12.
Position fuel injector wire harness to grommet and clamp securely.
13.
Install fuel injector cover. Torque attaching screws to 1.4 ft. lbs.