
Sidekick JS 2D Soft Top 2WD L4-1.6L (1997)
Valve Cover: Service and Repair
REMOVAL
1. Disconnect negative cable at battery.
2. Remove throttle cover.
3. Disconnect accelerator cable and Automatic Transmission (A/T) kickdown cable (for 3 A/T model) or A/T throttle cable (For 4 A/T model) from
throttle body and PCV hose from head cover.
4. Remove air intake pipe as previously outlined.
5. Remove air intake pipe bracket.
6. Disconnect high-tension cords from spark plugs.
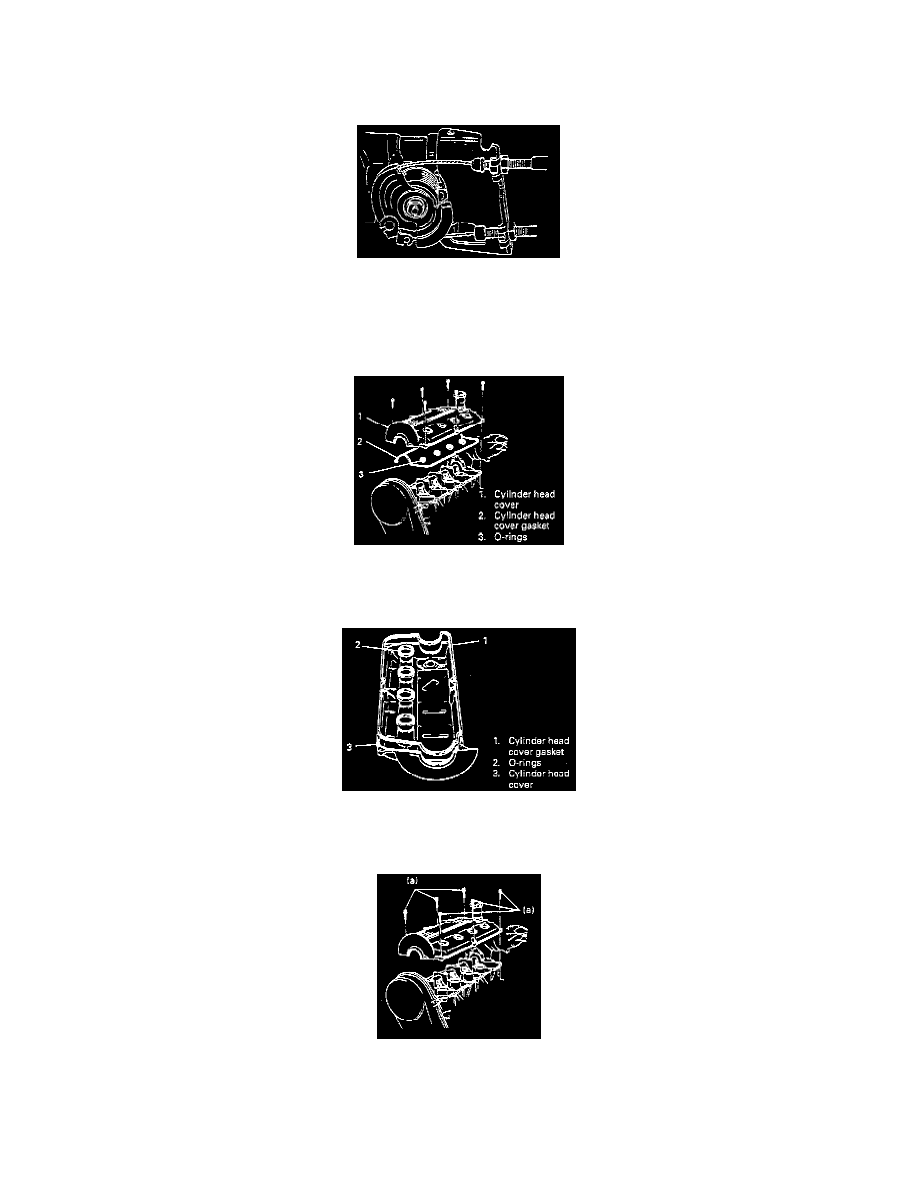
7. Remove cylinder head cover with cylinder head cover gasket and O-rings.
INSTALLATION
1. Install O-rings and cylinder head cover gasket to cylinder head cover.
NOTE: Be sure to check each of these parts for deterioration or any damage before installation and replace if found defective.
2. Install cylinder head cover to cylinder head and tighten cover bolts to specified torque.
Tightening Torque (a): 11 Nm (1.1 kg-m, 8.0 ft. lbs.).
NOTE: When installing cylinder head cover, use care so that cylinder head cover gasket or O-rings will not get out of place or fall off.