
Sidekick JX 4D Hard Top 4WD L4-1.6L (1997)
Transfer 4WD Switch: Service and Repair
REPLACEMENT
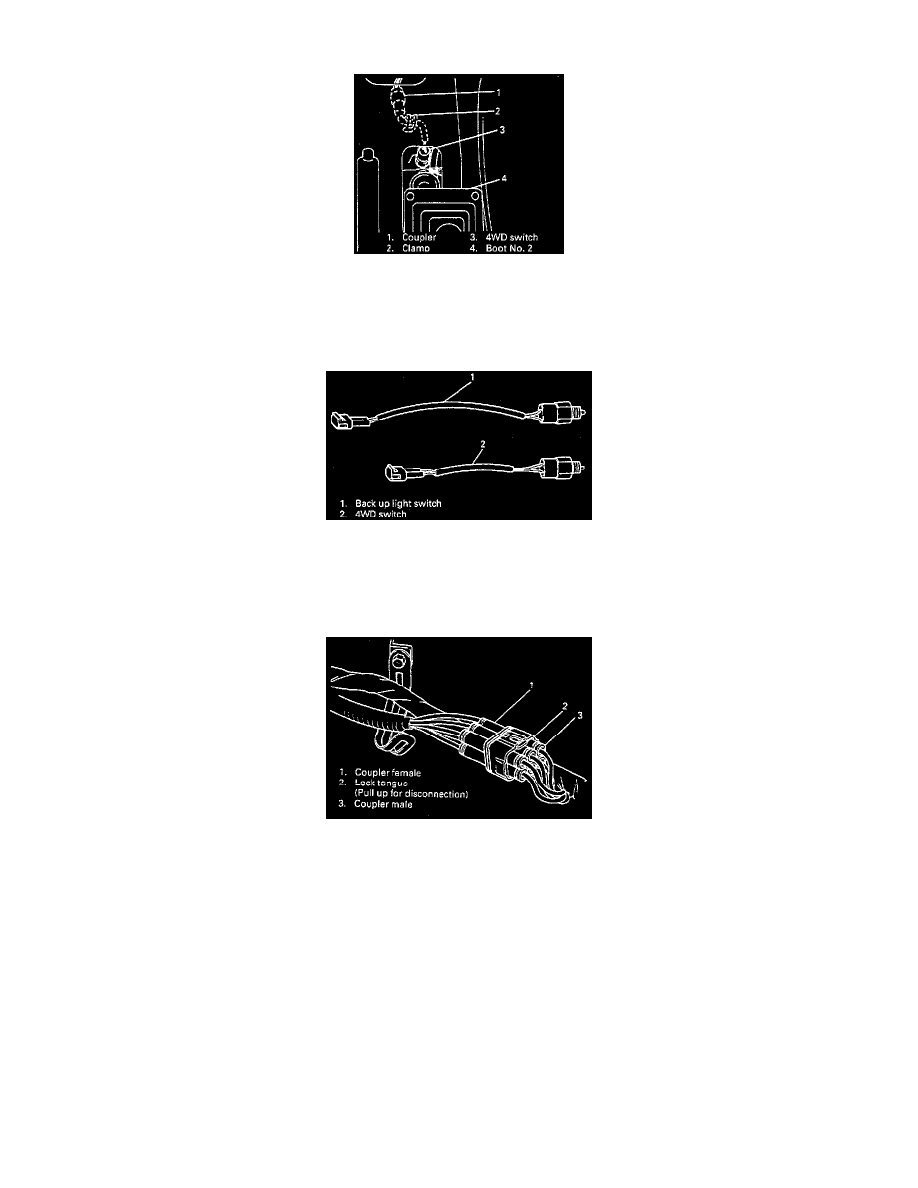
1. Remove console box and lift transmission control lever boots No. 2 and No. 3.
2. Remove transfer control lever boot No. 2, unclamp wiring on transfer case to free it and pull off coupler.
3. Replace switch and connect as it was.
4. Turn ON ignition switch, shift transfer shift control lever to 4WD position and check that indicator lights. Turn OFF switch after checking.
NOTE:
-
When removing and reinstalling switch, use care not to let dust enter transfer box inside.
-
Make sure to reset clamp for wiring which is located where invisible directly.
-
It is recommended to work on transfer shift control lever boot No. 1 from underside of vehicle on lift.
-
Identify this switch by its leg part which is different for that of back up light switch.
INSPECTION OF 4WD SWITCH AND BACK UP LIGHT SWITCH
1. Undo clamp at the back of intake manifold and then disconnect coupler.