
Sidekick Sport 2D JLX 4WD L4-1.8L (1998)
Shift Solenoid: Service and Repair
SOLENOID VALVES
(Shift solenoid valves & TCC solenoid valve)
INSPECTION
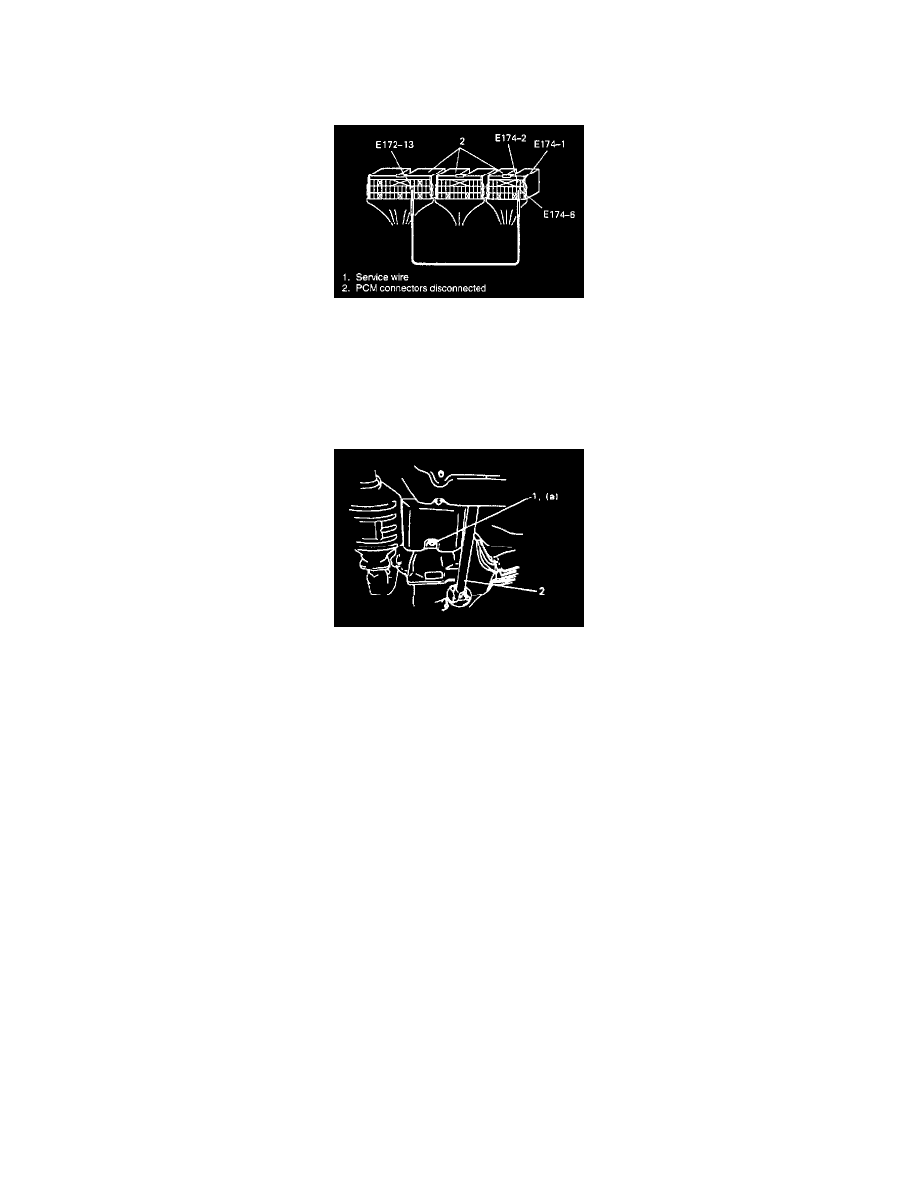
With couplers of PCM disconnected and using service wire as shown, check each solenoid valve for clicking sound.
Shift solenoid valve - A (1) E174-6
Shift solenoid valve - B (2) E174-1
TCC (Lock-up) solenoid valve E174-2
REMOVAL
1. Pull out dipstick and lift up vehicle.
2. With engine cooled, remove drain plug from oil pan and drain A/T fluid.
3. Install drain plug with gasket.
Tightening Torque
(a):23 Nm, (2.3 kg-m, 17.0 ft. lbs.)
4. Remove exhaust pipe bracket and disconnect front propeller shaft from front differential.
5. Remove oil pan bolts.
6. Disconnect oil cooler pipe from transmission case and remove oil pan.
7. Remove oil tubes.
8. Remove solenoid valve No.1 (shift solenoid valve A and B) or solenoid valve No.2 (TCC solenoid valve).
OPERATION CHECK