
Sidekick Sport 2D JLX 4WD L4-1.8L (1998)
5. Install front wheels and tighten wheel nuts to specified torque, if removed.
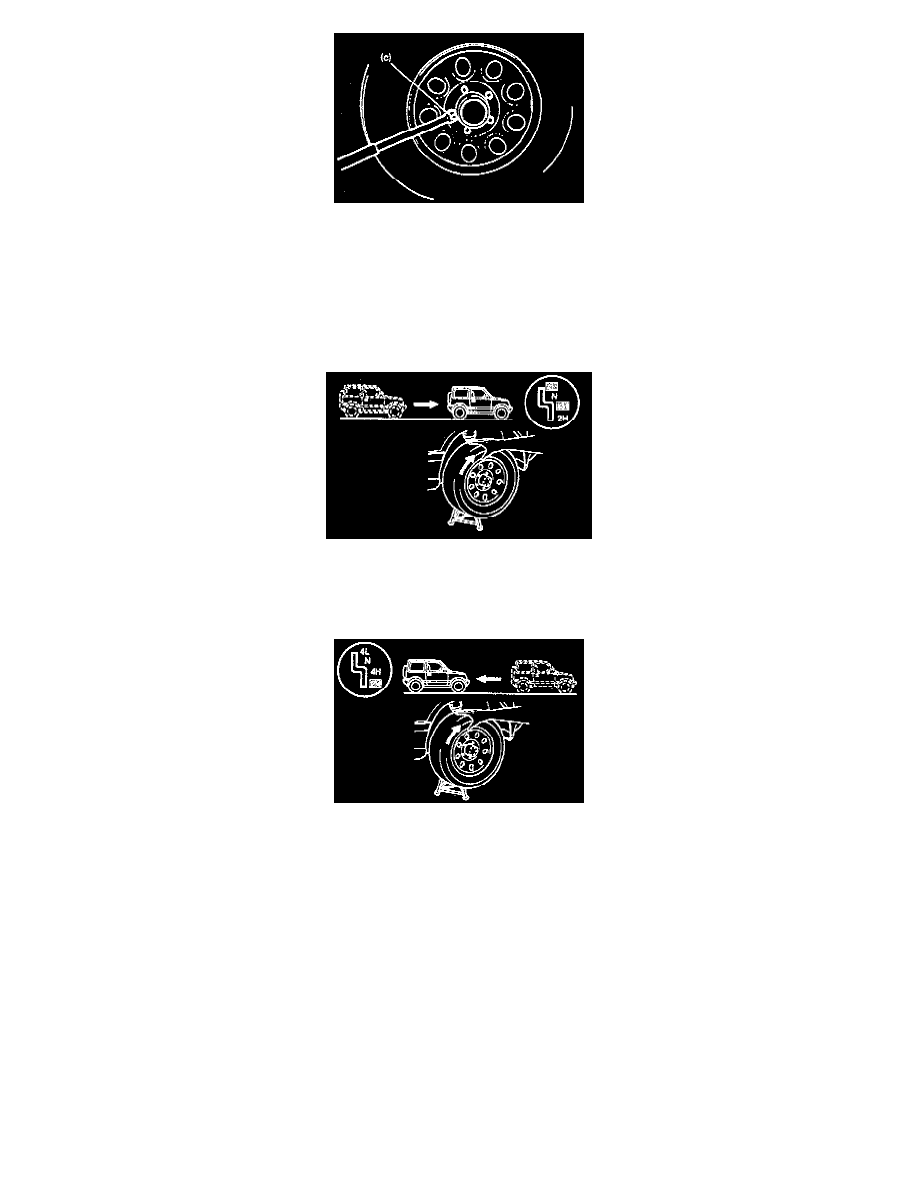
Tightening Torque (c): 95 Nm (9.5 kg-m, 69.0 ft. lbs.)
6. Dismount the vehicle from the lift, and be sure to carry out the operation check of free wheeling hub in the Post-assembly confirmation.
POST-ASSEMBLY CONFIRMATION
Confirm automatic free wheeling hub for proper operation in the sequence described below.
1. Set transfer gear shift lever to 4H or 4L position, and move vehicle 2 m (6.5 ft.) or more forward slowly.
2. Hoist vehicle and check that wheel (tire) rotation is transmitted to drive shaft (lock condition) when rotating right wheel clockwise (left wheel
counterclockwise) by hand.
3. Dismount vehicle from lift.
4. Set transfer gear shift lever to 2H position, and move vehicle 2 m (6.5 ft.) or more backward slowly.
5. Hoist vehicle and check that wheel (tire) rotation is not transmitted to drive shaft (free condition) when rotating right wheel clockwise (left wheel
counterclockwise) by hand.
6. Check to ensure that free wheeling hub locks and unlocks properly by reversing vehicle moving directions described in steps 1 and 4. (It should
lock when moving backward and unlock when moving forward.)
If any malfunction is found as to the confirmation in the above steps 1 through 6, reinstall or replace free wheeling hub assembly.